Whelp, the 360-degree camera rumor mill is running wild. Every since some registration paperwork was discovered about unannounced camera models, everyone is suddenly an expert on what the new models will be like – yet again.
Pro tip*: If you want to save some time, just block any influencer that is currently using photos showing fake images of hands holding the unreleased cameras, or boxes, or anything else. You can be assured these folks are not there to show truth – they are creating fake images for clicks. DO NOT TRUST.
You will then see your feed becomes much quieter.
Good luck, fakefluencers.
* There is nothing “professional” about a tip. Unless the person is a professional at giving tips, I guess…
When the Insta360 X4 came out, it upgraded the recording format from 5.7K to 8K — basically a 4K image for each of the two lenses. When folks tried to upload these files to YouTube, apparently early on 8K would appear as a choice.
Then something happened.
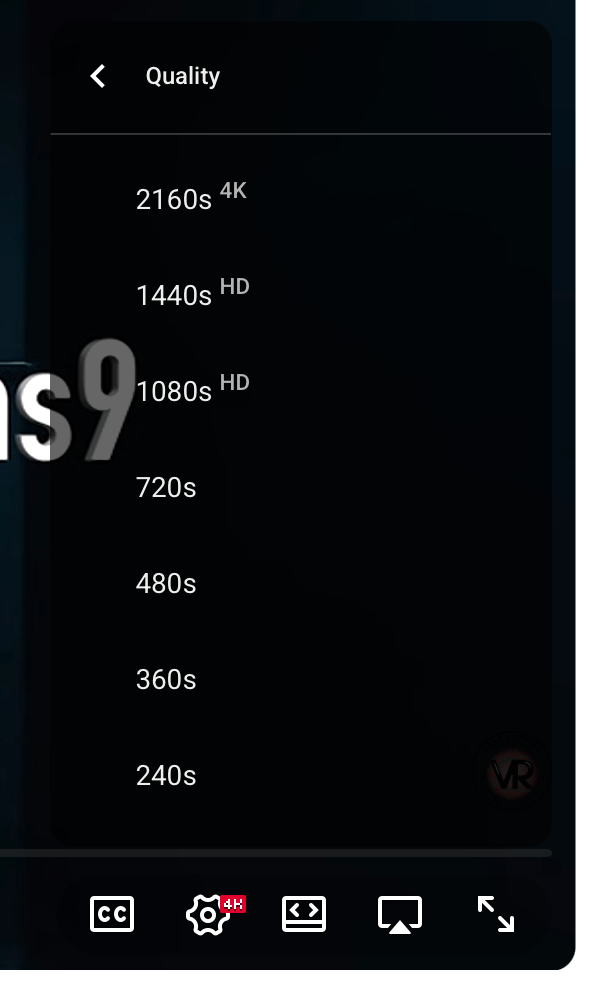
For the past few years I have seen this topic come up time and time again in 360 forums on Facebook, REDDIT, etc. Folks cannot get their videos to show in 8K. Up to 4K is all it offers:
Time and time again, folks in the forum that got it to work just say “sometimes it takes awhile before it shows up.” However, the majority of us seemed to NEVER see this as an option, even months (or a year) later.
Recently, I began investigating this again. I label all my 8K videos as “8K” and it felt misleading to do so if no one could watch them in 8K.
Then I learned: YouTube used a different size for 8K, or so various “experts” claimed. Even though the Insta360 8K size of 7680×3840 worked fine as 8K in the past (for some), apparently now you had to resize the video to 7680×4320 and then and only then would YouTube show it as 8K. At least, according to many folks who were trying to make the work. Here is part of a detailed series of posts on REDDIT about this:
My attempts to do this did not produce 8K. Meanwhile, others still insisted that 8K “just worked” when directly uploading the file exported from Insta360 Studio (and, I would assume, the same size file from the DJI desktop app for the DJI Osmo 360 camera).
But not for most of us.
Does it work for anyone?
I ran into a YouTuber that was posting some 360-degree videos from amusement parks, and noticed they labeled them as 8K in their thumbnails. Yet, no 8K option when I viewed it. This led to a few exchanges in the comments, and them saying they could even see my videos show 8K.
I guess that 7680×4320 suggested by some was not important, after all… even though that is the resolution YouTube specifically mentions for 8K:
When the experts disagree, you know we don’t really know what the rules are.
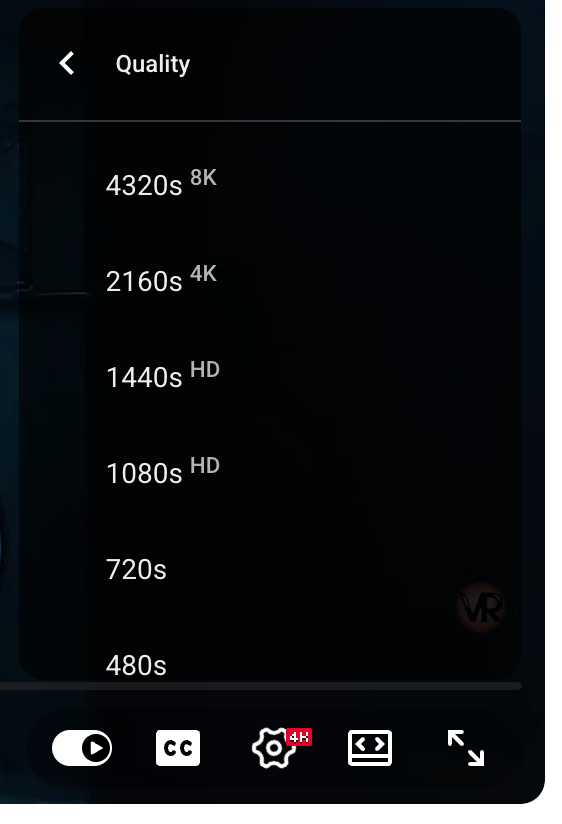
So why is it so many of us cannot see 8K, and others can see it just fine? I was today years old when I actually saw an 8K option or the very first time:
And, then I checked using a different browser on a different operating system (Edge on a Windows 11 machine) and saw it there, too.
Did something get flipped?
Please let me know if you can see an 8K option on the following video — and if you can (or can’t), tell us your browser and operating system. The PC I used was just a low end DELL with no special graphics card, and I am seeing it on an M2 Mac even though I just found a new post saying you needed an M3 or above to see them.
No one seems to know the rules. But one of you may, so let us all know. Thanks!
Yesterday my news alerts showed me a posting where someone shared screenshots of registrations for the Insta360 X6. There have been rumors of the X6 since (and maybe even before) the moment the X5 model was released.
Beyond adding higher resolution and/or better low light performance, what else would justify someone upgrading from the X5? Rumors are saying this model could have a 1″ lens — something Insta360 already had years ago with the Insta360 ONE RS. That model had 6K resolution (3K per lens) which was resolution worse than the later X4 and X5 “8K” models but the larger sense allowed it to capture better images even if at a lower resolution.
Just keep in mind — there is “what the camera can do” versus “what the camera operator can do.” Someone can take a mediocre camera, play with manual settings, and post-process the image to create something that looks much better than anything you can get from a “better” camera just by pressing the button in automatic mode.
I have mostly been a point-and-shoot user since I got my first digital camera in 1996, so “what the camera can do” is usually more important to me than what some advanced photographer can do with it.
An important reminder:
Be careful trusting an honest review if they don’t disclose they have a hardware sponsor providing them with hundreds or thousands of dollars worth of product to “review”. That, in itself, is dishonest, so how can you trust the rest?
Now we wait for hundreds of vloggers and bloggers to churn endlessly over the same rumors, adding nothing useful except regurgitation.
I first took “one shot” 360 photos in 2005 using a weird “half-mirror on a stick” thing called SurroundPhoto. It created images like this one, which were processed into 360 panorama QuickTime VR files:
360 Disneyland in 2005.
I later backed a kickstarter for a 3-lens device that was specifically designed for taking 360 photos (the failed 360cam). I’ve also owned a Kodak SP360, as well as several RICOH Theta cameras. The Thetas became my go-to camera due to their ease-of-use and form factor. My first Insta360 was the ONE X2, and that device is what switched me from RICOH to Insta360 cameras.
All this to say … I’ve been following and playing with this stuff for twenty years (and even longer if you consider the way we used to make 360 panoramas by taking a bunch of photos and stitching them together later with software). Here’s a 2002 example of photos I took specifically to make a 360 panorama out of using special software.
But I digress… since my 360 world has been Insta360 for several years (I’ve had the ONE X2, X3, X4 and now X5), YouTube has learned to show me lots of Insta360 YouTubers. Meanwhile, other camera manufacturers such as GoPro and DJI have their own set of YouTubers that I am completely unfamiliar with. I assume they are also “sponsored” and generally say good things about the gear they “review” just like the Insta360 reviewers do. My current pet peeve is the YouTubers who have hardware sponsors that provide them gear, then they lie to use and say they are unsponsored (this is illegal in the U.S.A. thanks to Federal Trade Commission rules that require disclosures).
But I digress…
Familiarity
Since I do not know the DJI YouTubers, I have no idea if I can trust what they tell me about the new DJI Osmo 360. Instead, many of us have been waiting to see what our Insta360 YouTubers say about it. After all, we are familiar with them and “trust” them because of it.
But can we?
If you are getting special perks from a company, such as free hardware, gift packages, and even being paid to make special tutorials from time to time, would you risk all of all that to tell us that a competing product is better? I cannot see why Insta360 would keep supporting content creators that promote another company’s product as being better.
With that said, I have found the Insta360 YouTubers take on the DJI Osmo 360 to be very interesting. I have also been watching the (unknown to me) DJI YouTubers discuss it, though since this is a new category for DJI, those videos have to explain the basics of what makes 360 video so cool to their audience that is likely unfamiliar. This makes the DJI videos a bit less useful for those of us that have been doing this stuff for years.
My ask of you…
Please leave a comment and share links to the “best’ DJI Osmo 360 review videos you have found. This can be dedicated videos, or comparison videos. I will share them here in a future post (or update this one).
BONUS: With the upcoming release of the GoPro Max 2 360 camera, I’d like to know similar GoPro channels that I should check out.
Every time I think I have figured out what Google Street View expects, I encounter a new problem. This time, I have a file that Google says has gaps in the GPS data:
But the problem is, I have already tried to fix this multiple times using tools like gpsbabel. This command line utility will create in-between points at the rate you specify. You can use a value of 1 second and get a point every second in the entire GPX file.
Using GPX Editor on the Mac lets me inspect the tracking points. If I sort by duration value, the longest value in the entire file is 4 seconds:
Yet, Google claims there is a 7 second gap after 9 seconds. Looking at the points in time order shows this is not the case: (But do note, this GPS starts sooner than the video; so the points I show here may be from time before the video begins. This does not change the issue, since there is nothing reported longer than 4 seconds in the entire file, anywhere.)
Anyone care to explain why this happens and how I can fix it? I have gotten every other file I have uploaded to work just fine, except for these two I have been working on since last week.
Even when I run gpsbabel with a 1 second “gap” between each point, I still get this type of error.
What else is Google looking for? Web searches and even chatting with Google’s Gemini A.I. have not produced anything helpful.
Here are some comparison videos I recorded last weekend at Silver Dollar City theme park. I mounted both cameras side-by-side and rode their water-based dark ride, The Flooded Mine. Both cameras were recording in 360 video using the low light mode. I then reframed each to a 4K forward view to make this split screen.
There are two segments to this video. One shows them top/bottom, then the video is repeated side-by-side so you can see more of the horizontal and vertical image.
Next is a test of the single lens mode. The X5 was recording in 4K, and the Osmo 360 has some higher 5K-6K resolution mode. For the comparison video, 4K was used so the Osmo is scaled down to fit. This is a walk through Grandfather’s Mansion:
And a week before this, I visited Lost Island Themepark in Waterloo, Iowa. I was recording the indoor queue to their dark ride, Volcano. I was not intentionally doing a comparison of the two cameras, but I did record it twice, each time using a different camera. I put a short clip together showing this:
More to come… Let me know what comparisons you are interested in seeing.
On Friday I received my DJI OSMO 360 camera from B&H Photo here in the U.S.A. I took it out on a test ride with my Insta360 X5 next to it to try to capture some comparison video. Unfortunately, the quality coming out of the Osmo 360 was inferior, and I learned it defaulted to “Standard” bitrate but had a setting for “High.” Since my X5 was set to “High” bitrate, I believe my first comparison would not have been a fair on.
Because of that, I will be re-doing these tests again, soon.
I also took both the X5 and Osmo 360 to Lost Island Themepark in Waterloo, Iowa yesterday. While I did not do any head-to-head comparisons, I did use the Osmo 360 a few times under low light conditions. It is my understanding that it is a better 360 camera for low light.
I will begin sharing these to my Sub-Etha Software YouTube channel, shortly.
Earlier this week, I read (on REDDIT, I think) about 1.5.6 being released. I checked my X5 and it reported nothing new. I checked again, still nothing. But today, something. If you are the type that likes to update immediately, go for it. Else, give it a week and see if any others have problems with it.
Yesterday, I received a notification from B&H Photo that they had the DJI Osmo 360 camera in stock. Indeed, it seems true, at least at the time of this writing:
This is surprising, since DJI‘s own website has yet shown the item as order-able, at least for folks viewing from the USA.
Meanwhile, Amazon has the camera for sale, but it is through a third-party reseller. Even with it “Shipped by Amazon,” buyers should beware. If this item was not going to be sold in the USA, some reseller could have ordered them from another region to resell here in the States (via eBay, Amazon, etc.). Without knowing if warranties would be honored when purchased this way, or if warranty service/support was possible, I was not willing to order from that reseller. (They may be fine and great, though. I am just speculating.)
So, if you are looking for a well-established place to buy a DJI Osmo 360 in the USA, maybe start with B&H Photo. I have used them a number of times over the past decades, and have yet to have a problem.