Or…
An easier way
See also: part 1, part 2 and part 3.
So far, we’ve explored how BASIC programs are stored in memory, experimented with moving a program somewhere else in memory and making it run, then finally creating a stupid one line program that features over 1700 bytes of PRINT statements — an impossible (to type in) program!
But there’s certainly easier ways. And one such easier way was created by Alex Evans, though I’m not sure if his intent was to create stupid crazy long line programs or not.
Over on Alex’s Github page is a series of Python scripts that manipulate CoCo BASIC programs:
https://github.com/varmfskii/basic_utils
Alex has created routines to convert an ASCII program to a tokenized one, as well as convert tokenized BASIC program to ASCII. Very useful!
But, he also has routines to RENUMBER a program, and even PACK and UNPACK a program. It’s the PACK and UNPACK that caught my interest, once I realized what they could do.
Another interesting on is the “RE ID” script, which allows you to create a BASIC program as a text file and use long, descriptive variable names. The REID script will convert them all to short variables that actually work in BASIC. That could be fun.
Let’s look at how these are used… To make them work, you just need Python installed. Mac and Linux come with it, but for Windows you’ll need to download it. You can then run these scripts as if they were programs, though specific details for Windows are something I can’t currently add because I haven’t tried it yet.
BASIC UTILS
Converting between ASCII text file and tokenized BASIC:
- coco_tokenize.py – Convert BASIC program in text form to tokenized form.
Usage: coco_tokenize.py [<opts>] [<iname>] [<oname>]
	-b	--basic=<dialect>	basic dialect
	-c	--cassette		tokenized cassette file
	-d	--disk			tokenized disk file (default)
	-h	--help			this help
	-i<n>	--input=<file>		input file
	-o<n>	--output=<file>		output file
- coco_detokenize.py – Convert a tokenized BASIC program into text.
Usage: coco_detokenize.py [<opts>] [<iname>] [<oname>]
	-b	--basic=<dialect>	basic dialect
	-c	--cassette		tokenized cassette file
	-d	--disk			tokenized disk file (default)
	-h	--help			this help
	-i<n>	--input=<file>		input file
	-o<n>	--output=<file>		output file
Packing BASIC program lines together, or splitting them up:
- coco_pack.py – Make a BASIC program take as little space as possible.
Usage: coco_pack.py [<opts>] [<iname>] [<oname>]
	-b	--basic=<dialect>	basic dialect
	-c	--cassette		tokenized cassette file
	-d	--disk			tokenized disk file (default)
	-h	--help			this help
	-i<n>	--input=<file>		input file
	-k	--token-len		line length is for tokenized form
	-m	--maxline=<num>		maximum line length
	-o<n>	--output=<file>		output file
	-t	--text			output as text file
	-x	--text-len		line length is for untokenized form
- coco_unpack.py – Split a BASIC program up to one command per line.
Usage: coco_unpack.py [<opts>] [<iname>] [<oname>]
	-b	--basic=<dialect>	basic dialect
	-c	--cassette		tokenized cassette file
	-d	--disk			tokenized disk file (default)
	-h	--help			this help
	-i<n>	--input=<file>		input file
	-n	--no-whitespace		do not add extra whitespace
	-o<n>	--output=<file>		output file
Renumbering the program:
- coco_renumber.py – Adjust line numbers.
Usage: coco_renumber.py [<opts>] [<iname>] [<oname>]
	-b	--basic=<dialect>	basic dialect
	-c	--cassette		tokenized cassette file
	-d	--disk			tokenized disk file (default)
	-h	--help			this help
	-i<n>	--input=<file>		input file
	-o<n>	--output=<file>		output file
	-s<n>	--start=<num>		starting line number
	-t	--text			output as text file
	-v<n>	--interval=<num>	interval between line numbers
Renaming long variables:
- coco_reid.py – Transform variable names. This allows source code with long meaningful variable names to fit the restrictions of BASIC. This will also obfuscate existing variable names since they are replaced by A, B, C, etc.
Usage: coco_reid.py [<opts>] [<iname>] [<oname>]
	-b	--basic=<dialect>	basic dialect
	-c	--cassette		tokenized cassette file
	-d	--disk			tokenized disk file (default)
	-h	--help			this help
	-i<n>	--input=<file>		input file
	-o<n>	--output=<file>		output file
	-t	--text			output as text file
Tokenizing / Detokenizing
To test these programs, I had a copy of my ALLRAM BBS from 1983. The file I had was an ASCII text file, so I was able to convert it to a tokenized BASIC program:
% coco_tokenize.py allram.bas
% ls -l allram.bas*
-rw-r--r--@ 1 allenh  staff  6230 Apr  3  2013 allram.bas
-rw-r--r--@ 1 allenh  staff  5125 Feb 13 21:23 allram.bas.tok
Above, you can see the original test file (allram.bas) and the tokenized version (allram.bas.tok). If I had started with a tokenized file, I could convert it to ASCII like this:
% coco_detokenize.py allram.bas.tok
% ls -l allram.bas*
-rw-r--r--@ 1 allenh  staff  6230 Apr  3  2013 allram.bas
-rw-r--r--@ 1 allenh  staff  5125 Feb 13 21:23 allram.bas.tok
-rw-r--r--@ 1 allenh  staff  6229 Feb 13 21:23 allram.bas.tok.txt
The original “allram.bas” had a blank line at the start of the file, but other than that, it and the tokenized-then-detokenized “allram.bas.tok.txt” should be the same.
Packing
I already tried to make my *ALLRAM* BBS somewhat compact, but I’ve learned much more since 1983. Today I’d go through it line by line and combine them as much as I could. OR, I could just use “coco_pack.py” like this:
% ./coco_pack.py allram.bas
% ls -l allram.bas*
-rw-r--r--@ 1 allenh  staff  6230 Apr  3  2013 allram.bas
-rw-r--r--@ 1 allenh  staff  4441 Feb 13 21:26 allram.bas.pack
-rw-r--r--@ 1 allenh  staff  5125 Feb 13 21:23 allram.bas.tok
-rw-r--r--@ 1 allenh  staff  6229 Feb 13 21:25 allram.bas.tok.txt
“coco_pack” script will work on an ASCII file and produc a tokenized file that is more compact that if you’d just used “coco_tokenize” on the original file. In this case, my BASIC program (tokenized) was 5125 bytes. The packed version was 4441 bytes!
What did it do, I wondered? I then de-tokenized this packed version so I could look at it:
% ./coco_detokenize.py allram.bas.pack
% ls -l allram.bas*
-rw-r--r--@ 1 allenh  staff  6230 Apr  3  2013 allram.bas
-rw-r--r--@ 1 allenh  staff  4441 Feb 13 21:26 allram.bas.pack
-rw-r--r--@ 1 allenh  staff  5497 Feb 13 21:28 allram.bas.pack.txt
-rw-r--r--@ 1 allenh  staff  5125 Feb 13 21:23 allram.bas.tok
-rw-r--r--@ 1 allenh  staff  6229 Feb 13 21:25 allram.bas.tok.txt
And you can see there is now an “allram.bas.pack.txt” de-tokenized file. This allowed me to inspect and see what the routine was doing.
The pack routine removed all comments, as well as any unnecessary spaces. It also combines lines when possible, and renumbered by 1s (starting at line 0).
Original (first few lines):
0 REM *ALL RAM* BBS System 1.0
1 REM   Shareware / (C) 1983
2 REM     By Allen Huffman
3 REM  110 Champions Dr, #811
4 REM     Lufkin, TX 75901
5 CLS:FORA=0TO8:READA$:POKE1024+A,VAL("&H"+A$):NEXTA:EXEC1024:DATAC6,1,96,BC,1F,2,7E,96,A3
10 CLEAR21000:DIMNM$(200),MS$(19,10),A$,F$,S$,T$,BR$,CL$,NM$,PS$,PW$,A,B,C,CL,LN,LV,MS,NM,KY,UC
15 CL$=CHR$(12)+CHR$(14):BR$="*==============*==============*":GOSUB555
Packed:
0 CLS:FORJ=0TO8:READI$:POKE1024+J,VAL("&H"+I$):NEXTJ:EXEC1024:DATAC6,1,96,BC,1F,2,7E,96,A3:CLEAR21000:DIMA$(200),B$(19,10),I$,H$,F$,E$,B$,C$,A$,D$,G$,J,H,A,E,I,K,F,C,G,D:C$=CHR$(12)+CHR$(14):B$="*==============*==============*":GOSUB62
You can see it removed the REMs in lines 0-4, then combined lines 5, 10 and 15 in to one long line. You can also see it changed the variables names, reducing any 2-character names to a single character.
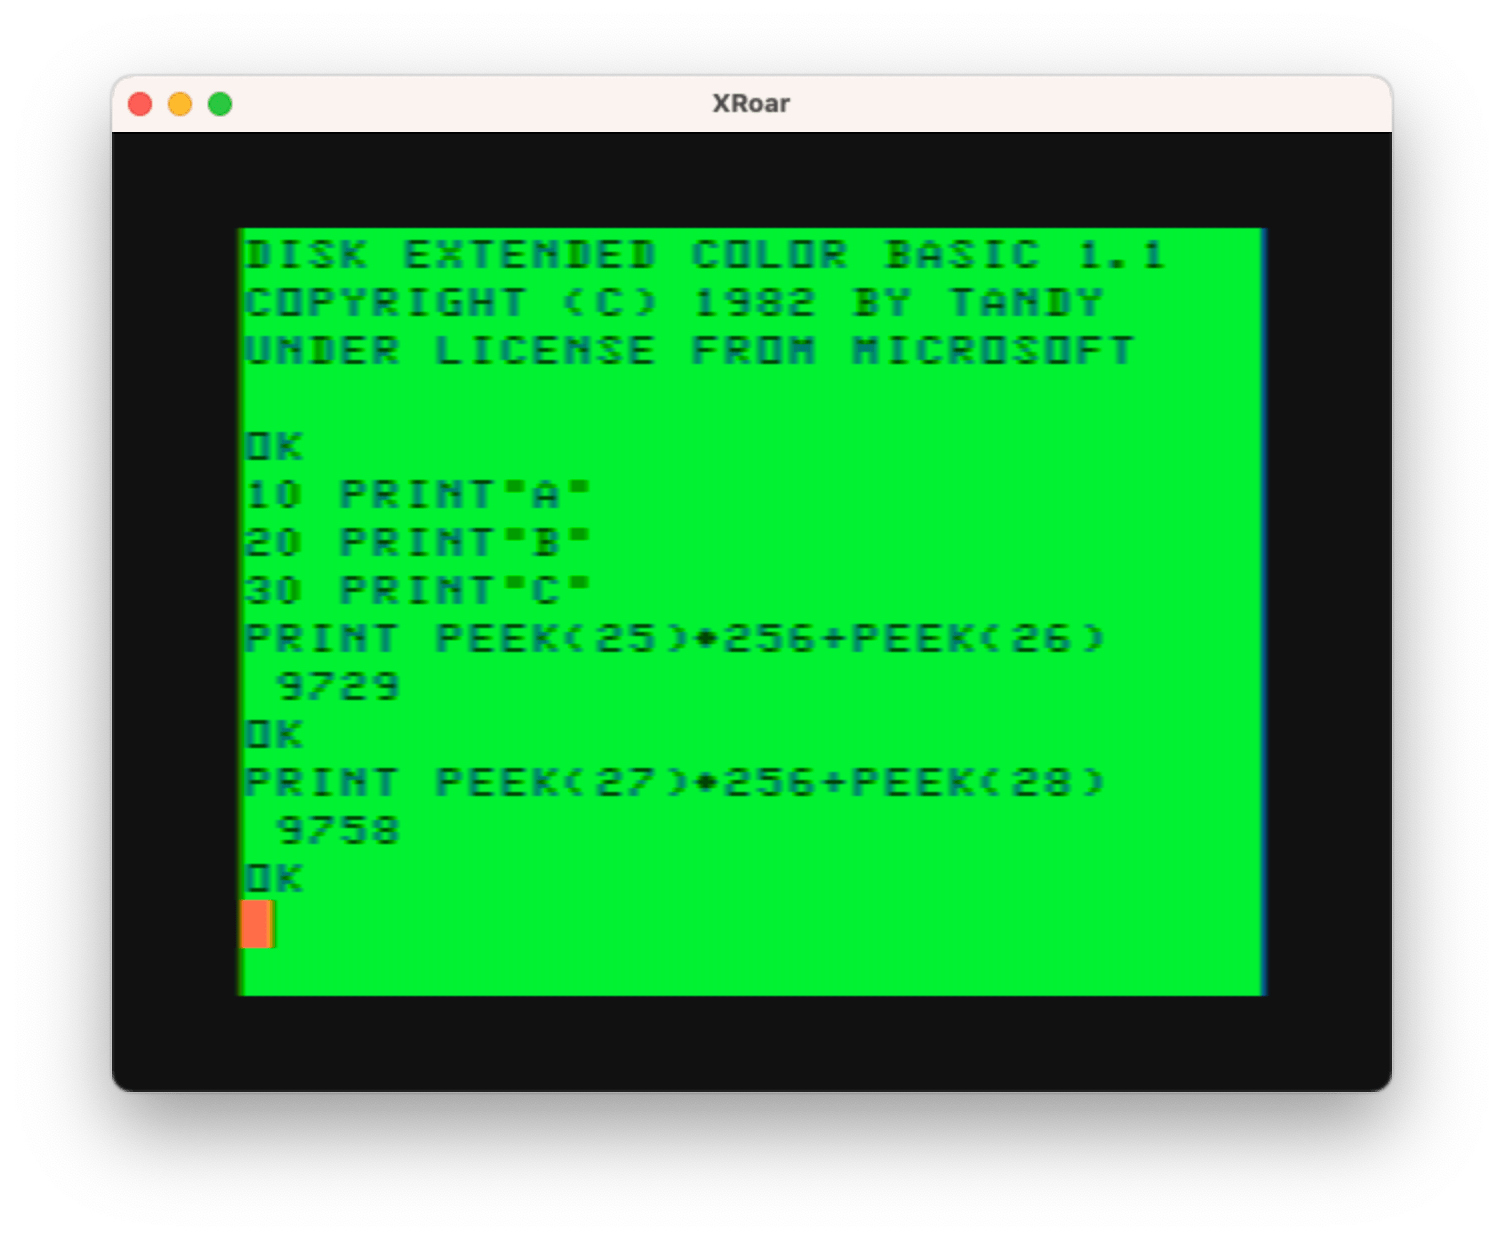
To explain the line combining, take a look at this simple program:
10 PRINT "A"
20 PRINT "B"
30 PRINT "C"
It would pack in to this:
0 PRINT"A":PRINT"B":PRINT"C"
Not all lines can be combined. If a line ends with a GOTO/GOSUB, putting anything after it wouldn’t be executed. The same is true for IF/THEN that go to a line.
For example:
10 IF A=1 THEN 100
20 IF A=2 THEN 200
30 IF A=3 THEN 300
40 END
100 REM 100
105 PRINT "100"
110 END
200 REM 200
205 PRINT "200"
210 END
300 REM 300
305 PRINT "300"
310 END
Above, the “IF A=n” lines can’t have anything after them (without modifying the program to use ELSE), so packing produces this:
0 IFA=1THEN4
1 IFA=2THEN5
2 IFA=3THEN6
3 END
4 PRINT"100":END
5 PRINT"200":END
6 PRINT"300":END
Above, the first three IF statements were left alone, since you couldn’t put anything after the “THEN”. Pack updated any GOTO that targeted a REM line to start after the REM so the REMs could be removed. (That is something it didn’t do a week or two ago when I first started writing this. Alex has made some substantial updates to the scripts lately.)
Side Note: For this example you could do something like “IF A=1 THEN 4 ELSE IF A=2 THEN 6 ELSE IF A=3 THEN 8” on one line. However, there are other examples where if the first condition was not met you still would want the following IFs to execute. There’s really no way for a script to know the intent, so it cannot “just assume” and change code like that.
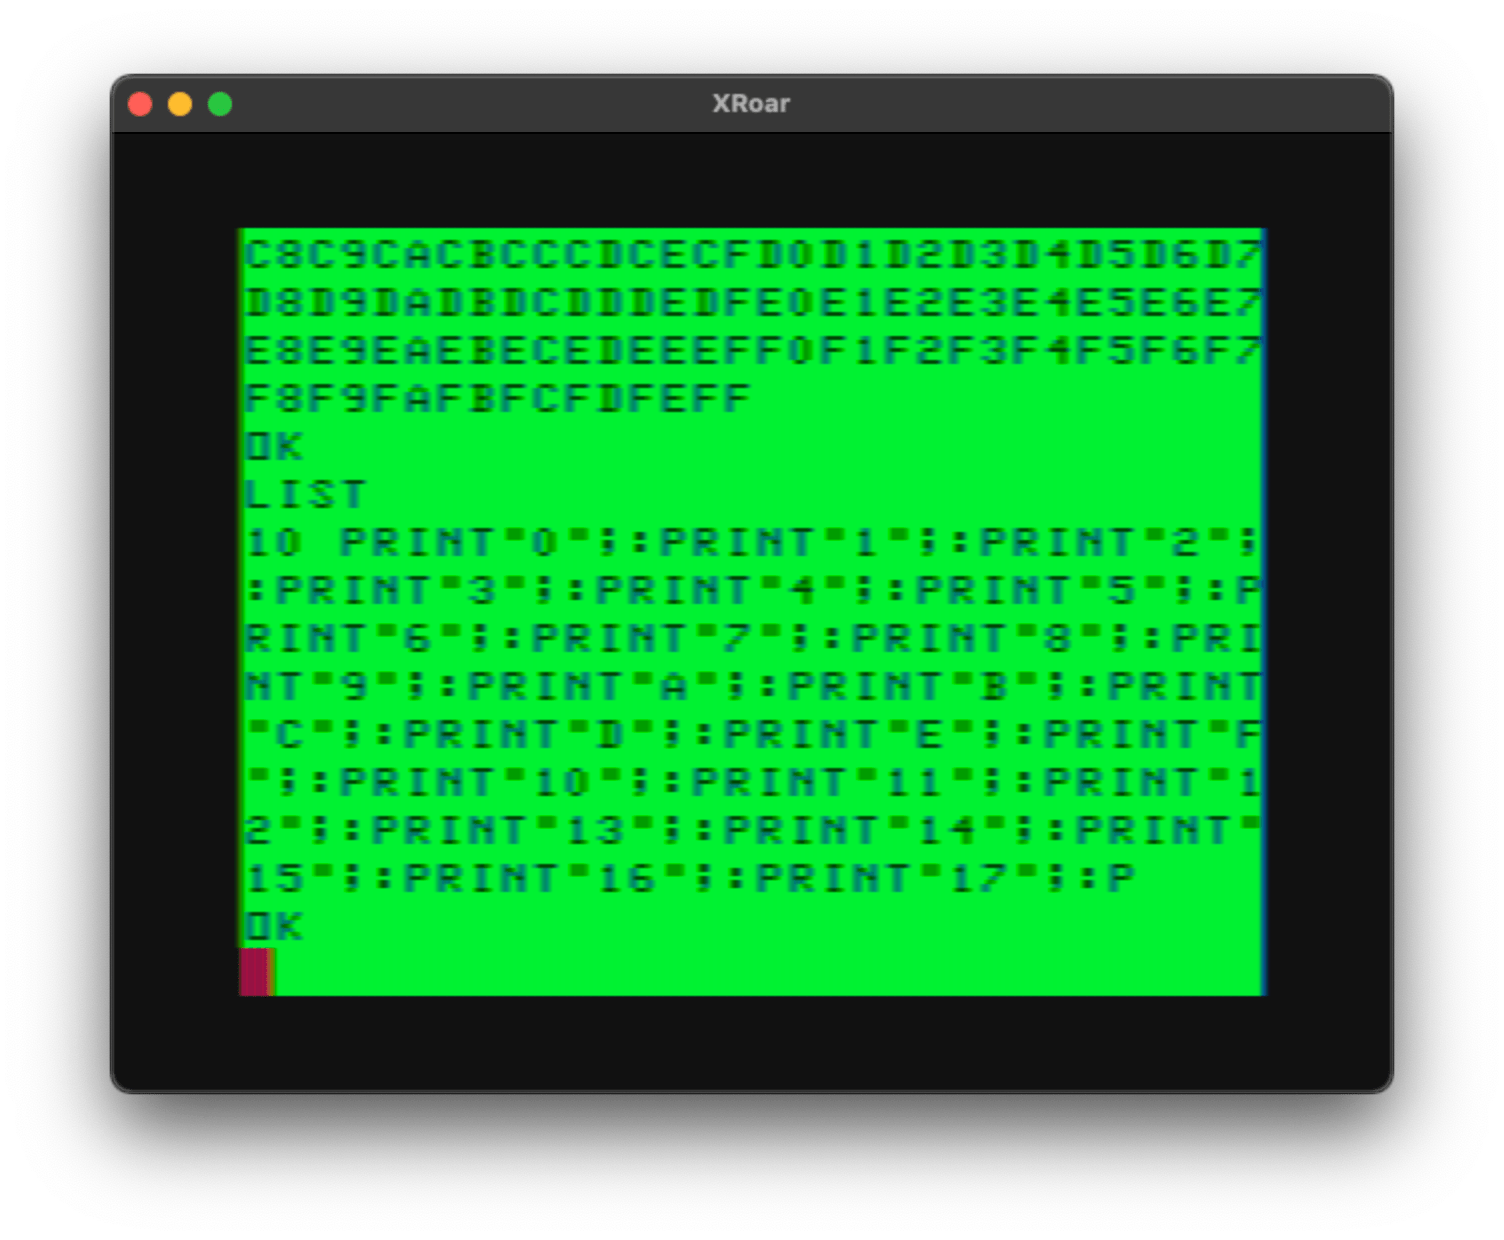
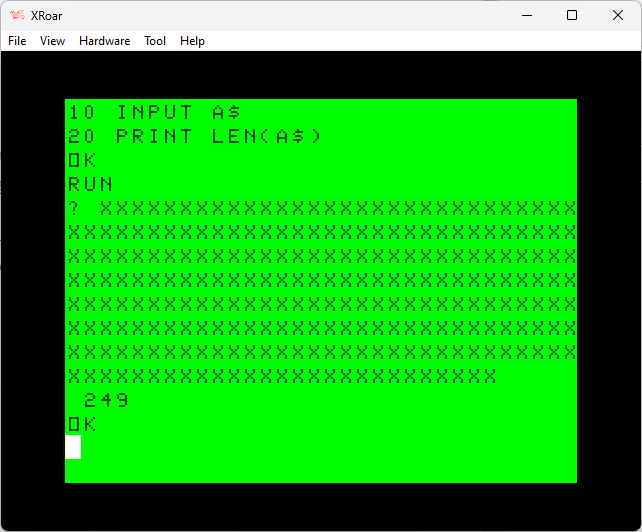
The pack script is also capable of packing lines well beyond the 249 characters you can type. Consider this program made up of 26 PRINT commands:
10 PRINT "AAAAAAAAAAAAAAAAAAAAAAAAAA"
20 PRINT "BBBBBBBBBBBBBBBBBBBBBBBBBB"
30 PRINT "CCCCCCCCCCCCCCCCCCCCCCCCCC"
40 PRINT "DDDDDDDDDDDDDDDDDDDDDDDDDD"
50 PRINT "EEEEEEEEEEEEEEEEEEEEEEEEEE"
60 PRINT "FFFFFFFFFFFFFFFFFFFFFFFFFF"
70 PRINT "GGGGGGGGGGGGGGGGGGGGGGGGGG"
80 PRINT "HHHHHHHHHHHHHHHHHHHHHHHHHH"
90 PRINT "IIIIIIIIIIIIIIIIIIIIIIIIII"
100 PRINT "JJJJJJJJJJJJJJJJJJJJJJJJJJ"
110 PRINT "KKKKKKKKKKKKKKKKKKKKKKKKKK"
120 PRINT "LLLLLLLLLLLLLLLLLLLLLLLLLL"
130 PRINT "MMMMMMMMMMMMMMMMMMMMMMMMMM"
140 PRINT "NNNNNNNNNNNNNNNNNNNNNNNNNN"
150 PRINT "OOOOOOOOOOOOOOOOOOOOOOOOOO"
160 PRINT "PPPPPPPPPPPPPPPPPPPPPPPPPP"
170 PRINT "QQQQQQQQQQQQQQQQQQQQQQQQQQ"
180 PRINT "RRRRRRRRRRRRRRRRRRRRRRRRRR"
190 PRINT "SSSSSSSSSSSSSSSSSSSSSSSSSS"
200 PRINT "TTTTTTTTTTTTTTTTTTTTTTTTTT"
210 PRINT "UUUUUUUUUUUUUUUUUUUUUUUUUU"
220 PRINT "VVVVVVVVVVVVVVVVVVVVVVVVVV"
230 PRINT "WWWWWWWWWWWWWWWWWWWWWWWWWW"
240 PRINT "XXXXXXXXXXXXXXXXXXXXXXXXXX"
250 PRINT "YYYYYYYYYYYYYYYYYYYYYYYYYY"
260 PRINT "ZZZZZZZZZZZZZZZZZZZZZZZZZZ"
…and PACK would be able to combine them all in to ONE really long line:
0 PRINT"AAAAAAAAAAAAAAAAAAAAAAAAAA":PRINT"BBBBBBBBBBBBBBBBBBBBBBBBBB":PRINT"CCCCCCCCCCCCCCCCCCCCCCCCCC":PRINT"DDDDDDDDDDDDDDDDDDDDDDDDDD":PRINT"EEEEEEEEEEEEEEEEEEEEEEEEEE":PRINT"FFFFFFFFFFFFFFFFFFFFFFFFFF":PRINT"GGGGGGGGGGGGGGGGGGGGGGGGGG":PRINT"HHHHHHHHHHHHHHHHHHHHHHHHHH":PRINT"IIIIIIIIIIIIIIIIIIIIIIIIII":PRINT"JJJJJJJJJJJJJJJJJJJJJJJJJJ":PRINT"KKKKKKKKKKKKKKKKKKKKKKKKKK":PRINT"LLLLLLLLLLLLLLLLLLLLLLLLLL":PRINT"MMMMMMMMMMMMMMMMMMMMMMMMMM":PRINT"NNNNNNNNNNNNNNNNNNNNNNNNNN":PRINT"OOOOOOOOOOOOOOOOOOOOOOOOOO":PRINT"PPPPPPPPPPPPPPPPPPPPPPPPPP":PRINT"QQQQQQQQQQQQQQQQQQQQQQQQQQ":PRINT"RRRRRRRRRRRRRRRRRRRRRRRRRR":PRINT"SSSSSSSSSSSSSSSSSSSSSSSSSS":PRINT"TTTTTTTTTTTTTTTTTTTTTTTTTT":PRINT"UUUUUUUUUUUUUUUUUUUUUUUUUU":PRINT"VVVVVVVVVVVVVVVVVVVVVVVVVV":PRINT"WWWWWWWWWWWWWWWWWWWWWWWWWW":PRINT"XXXXXXXXXXXXXXXXXXXXXXXXXX":PRINT"YYYYYYYYYYYYYYYYYYYYYYYYYY":PRINT"ZZZZZZZZZZZZZZZZZZZZZZZZZZ"
That’s 886 characters of code on one line.
Pack is awesome!
But that’s not all…
Unpacking
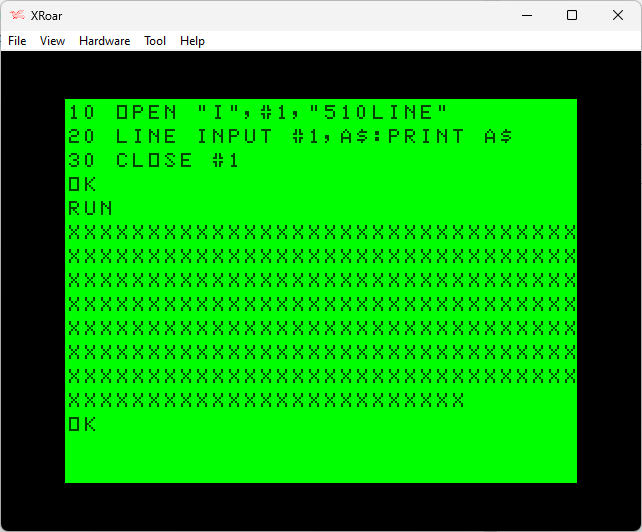
An interesting feature of Alex’s tools is the ability to unpack a program down to something that looks pretty … but won’t run on a real CoCo. The unpack script will break everything down to one statement per line, but doesn’t add additional line numbers. This makes code prettier and easy to edit in a text editor:
1000 'USER INPUT
1005 LINE INPUT A$
 A$=LEFT$(A$,64)
 IF UC=0 OR A$=""THEN RETURN
1010 FOR C=1 TO LEN(A$)
 CH=ASC(MID$(A$,C,1))
 IF CH>96 THEN MID$(A$,C,1)=CHR$(CH-32)
1015 IF CH=92 THEN MID$(A$,C,1)="/"
1020 NEXT C
 UC=0
 RETURN
1050 'FUNCTION BORDER
1055 CLS
 PRINT CL$BR$
 PRINT TAB((32-LEN(A$))/2)A$
 PRINT BR$
 RETURN
Then, after editing, you can use pack to turn it back in to a compact program that could be tokenized to run on the CoCo.
But that’s still not all…
Re-ID-ing
It can be frustrating making a bunch of variables make sense when you are limited to one or two character variable names. Alex has a script that takes care of that, allowing you to create “unpacked” source code with long variables like this:
10 NUMBER = RND(100)
20 PRINT "I AM THINKING OF A NUMBER FROM"
30 PRINT "1 TO 100. CAN YOU GUESS IT?"
40 INPUT "WHAT IS YOUR GUESS";GUESS
50 IF GUESS > NUMBER THEN PRINT "THAT IS TOO HIGH!" ELSE IF GUESS < NUMBER THEN PRINT "THAT IS TOO LOW!" ELSE PRINT "YOU GOT IT!":END
60 GOTO 40
Doing a “coco_pack.py program.bas“, it will pack the lines together and create short variables replacing the long ones specified in the source code:
0 A=RND(100):PRINT"I AM THINKING OF A NUMBER FROM":PRINT"1 TO 100. CAN YOU GUESS IT?"
1 INPUT"WHAT IS YOUR GUESS";B:IFB>A THENPRINT"THAT IS TOO HIGH!"ELSEIFB<A THENPRINT"THAT IS TOO LOW!"ELSEPRINT"YOU GOT IT!":END
2 GOTO1
But that’s still not all…
You don’t even have to include line numbers for anything except targets of a GOTO/GOSUB. The original program could also be written like this:
NUMBER = RND(100)

PRINT "I AM THINKING OF A NUMBER FROM"
PRINT "1 TO 100. CAN YOU GUESS IT?"

40 INPUT "WHAT IS YOUR GUESS";GUESS

IF GUESS > NUMBER THEN PRINT "THAT IS TOO HIGH!" ELSE IF GUESS < NUMBER THEN PRINT "THAT IS TOO LOW!" ELSE PRINT "YOU GOT IT!":END

GOTO 40
Pack would turn it in to the same functional program:
0 B=RND(100):PRINT"I AM THINKING OF A NUMBER FROM":PRINT"1 TO 100. CAN YOU GUESS IT?"
1 INPUT"WHAT IS YOUR GUESS";A:IFA>B THENPRINT"THAT IS TOO HIGH!"ELSEIFA<B THENPRINT"THAT IS TOO LOW!"ELSEPRINT"YOU GOT IT!":END
2 GOTO1
But that’s still not all…
You don’t even need to use line numbers. A recent update to the script allows the use of a label (word followed by a colon):
NUMBER = RND(100)

PRINT "I AM THINKING OF A NUMBER FROM"
PRINT "1 TO 100. CAN YOU GUESS IT?"

LOOP: INPUT "WHAT IS YOUR GUESS";GUESS

IF GUESS > NUMBER THEN PRINT "THAT IS TOO HIGH!" ELSE IF GUESS < NUMBER THEN PRINT "THAT IS TOO LOW!" ELSE PRINT "YOU GOT IT!":END

GOTO LOOP
And that too turns in to the same packed program. This opens up some great possibilities, such as writing subroutines without having them tied to a particular line number:
SHOWBASICSTART: PRINT PEEK(25)*256+PEEK(26)
    RETURN

SHOWBASICEND: PRINT PEEK(27)*256+PEEK(28)-1
    RETURN
Then you could paste those routines in the code, and do a “GOTO SHOWBASICSTART” to use them!
Some caveats
When writing code like this, line numbers or labels only need to be included if there is a GOTO/GOSUB/etc. that goes to them. The source still needs to follow the flow of BASIC, meaning if you are writing an IF/THEN/ELSE, that should be all on one line
IF A=1 THEN PRINT "A=1" ELSE PRINT "A<>1"
Trying to spit them up like a modern language will not work:
REM *THIS WILL NOT WORK*

INPUT VALUE

10 IF VALUE=1 THEN
    PRINT "IT IS 1"
ELSE
    PRINT "IT IS NOT 1"
The script treats each line like a BASIC line, so the above test would produce:
0 INPUTVALA:IFVALA=1THEN
1 PRINT"IT IS 1":ELSE:PRINT"IT IS NOT 1"
Close, but no cigar! You can see it treats each line like a separate set of statements, and combines them with a colon between each. (Thus, the “:ELSE:”.)
So while it’s not a way to write modern-looking code, it does allow you to use long variable names and skip line numbers except where necessary.
Side Note: Alex has been adding code to allow concatenation long lines by using a backslash at the end. This was not working for me at the time of this writing, but I expect this last section will be.
Conclusion
These scripts open up some interesting possibilities for writing BASIC without having to deal with some of the limitations of basic (short variables names, line numbers, etc.). Just being able to write a program without having to renumber all the time when adding new lines in between existing lines is worth the price alone. (And the price is free, so there’s that.)
There have also been some new options added recently that I will discuss in future articles.
Until then…