Thank you, Bing Copilot (ChatGPT), for giving me another “thing I just learned” to blog about.
In the early days of “K&R C”, things were quite a bit different. C was not nearly as portable as it is today. While the ANSI-C standard helped quite a bit, once it became a standard, there were still issues when moving C code from machines of different architectures — for example:
int x;
What is x? According to the C standard, and “int” is “at least 16 bits.” On my Radio Shack Color Computer, and int was 16-bits (0-65535). I expect on my friend’s Commodore Amiga, the int was 32-bits, though I really don’t know. And even when you “know”, assuming that to be the case is a “bad thing.”
I used a K&R C compiler on my CoCo, and later on my 68000-based MM/1 computer. That is when I became aware that an “int” was different. Code that worked on my CoCo would port fine to the MM/1, since it was written assuming an int was 16-bits. But trying to port anything from the MM/1 to the CoCo was problematic if the code had assumed an int was 32-bits.
When I got a job at Microware in 1995, I saw my first ANSI-C compiler: Ultra C. To deal with “what size is an int” issues, Microware created their own header file, types.h, which included their definitions for variables of specific sizes:
u_int32 x;
int32 y;
All the OS library calls were prototyped to use these special types, though if you know an “unsigned long” was the same as an “u_int32” or a “short” was the same as an “int16” you could still use those.
But probably shouldn’t.
In those years, I saw other compilers do similar things, such as “U32 x;” and “I16 y”. I expect there were many variations of folks trying to solve this problem.
Some years later, I used the GCC compiler for the first time and learned that the ANSI-C specification now had it’s own types.h — called stdint.h. That gave us things like:
uint32_t x;
int32_t y;
It was easy to adopt these new standard definitions, and I have tried to use them ever since.
I was also introduced in to the defines that specified the largest value that would fit in an “int” or “long” on a system – limits.h:
And that works fine, and should work fine on any system where an int can hold a 32-bit value. (Though I used hex, since I know 0xffffffff is the max value, and always have to look up or use a calculator to find out the decimal version.)
Had I been using signed integers, I would be doing this:
int32_t LargestSignedInt = 2147483647;
Or I’d use 0x7fffffff.
As I looked at my code, I wondered if C provided similar defines for the stdint.h types.
stdint.h also has stdsizes!
And it does! Since all of this changed/happened after I already “learned” C, I never got the memo about new features being added. Inside stdint.h are also defines like this:
NOTE: This article was originally written two years ago, and meant to be part of a series. I never got around to writing Part 2, so I am just publishing this initial part by itself. If there is interest, I will continue the series. My Github actually shows the rest of the work I did for my “full” and “small” version of the driver code for this LCD.
Recently, my day job presented me an opportunity to play with a small 20×4 LCD display that hooked up via I2C. The module was an LCD2004. The 20 is the number of columns and the 04 is the number of rows. The LCD1602 would be a 16×2 display.
While I have found many “tutorials” about these displays, virtually all of them just teach you how to download a premade Arduino library and use library functions. Since I was going to be implementing code for an in-house project, and did not have room for a full library of functions I would not be using, I really needed to know how the device worked. Hopefully this article may help others who need (or just want) to do what I did.
LCD2004 / LCD1602 / etc.
These LCD modules use a parallel interface and requires eleven I/O pins. The pinout on the LCD looks like this:
A few of the pins are listed by different names based on whoever created the data sheet or hardware. On my LCD2004 module, pins 15 and 16 are listed as A and K, but I now know they are just power lines for the backlight.
If you have something like an Arduino with enough available I/O pins, you can wire the display up directly to pins. You should be able to hook up power (5V to VDD, Ground to VSS, and probably some power to the backlight and maybe something to control contrast), and then connect the eight data lines (D0-D7) to eight available digital I/O pins on the Arduino.
The LCD module has a simple set of instruction bytes. You set the I/O pins (HIGH and LOW, each to represent a bit in a byte), along with the RS (register select) and RW (read/write) pins, then you toggle the E (Enable) pin HIGH to tell the LCD it can read the I/O pins. After a moment, you toggle E back to LOW.
The data sheets give timing requirements for various instructions. If I read it correctly, it looks like the E pin needs to be active for a minimum of 150 nanoseconds for the LCD to read the pins.
Here is a very cool YouTube video by Ian Ward that shows how the LCD works without using a CPU. He uses just buttons and dip switches. I found it quite helpful in understanding how to read and write to the LCD.
If you don’t have 11 I/O pins, you need a different solution.
Ian Ward’s excellent LCD2004 video.
A few pins short of a strike…
If you do not have eleven I/O pins available, the LCD can operate in a 4-bit mode, needing only four pins for data. You send the upper four bits of a byte using the E toggle, followed by the lower 4-bits of the byte. This is obviously twice as slow, but allows the part to be used when I/O pins are limited.
If you don’t have 7 I/O pins, you need a different solution.
PCF8574: I2C to I/O
If you do not have seven I/O pins available, you can use the PCF8574 chip. This chip acts as an I2C to I/O pin interface. You write a byte to the chip and it will toggle the eight I/O pins based on the bits in the byte. Send a zero, and all pins are set LOW. Send a 255 (0xff) and all pins are set HIGH.
Using a chip like this, you can now use the 2-wire I2C interface to communicate with the LCD module–provided it is wired up and configured to operate in 4-bit mode (four pins for data, three pins for RS, RW and E, and the spare pin can be used to toggle the backlight on and off).
Low-cost LCD controller boards are made that contain this chip and have pins for hooking up to I2C, and other pins for plugging directly to the LCD module. For just a few dollars you can buy an LCD module already soldered on to the PCF8574 board and just hook it up to 5V, Ground, I2C Data and I2C Clock and start talking to it.
If you know how.
I did not know how, so I thought I’d document what I have learned so far.
What I have learned so far.
The PCF8574 modules I have all seem to be wired the same. There is a row of 16-pins that aligns with the 16 pins of the LCD module.
PCF8574 module.
One LCD I have just had the board soldered directly on to the LCD.
LCD2004 with the PCD8574 module soldered on.
Another kit came with separate boards and modules, requiring me to do the soldering since the LCD did not have a header attached.
PCF8574 module and LCD1602, soldering required.
If you are going to experiment with these, just get one that’s already soldered together or make sure the LCD has a header that the board can plug in to. At least if you are like me. My soldering skills are … not optimal.
The eight I/O pins of the PCF modules I have are connected to the LCD pins as follows:
1 - to RS
2 - to RW
3 - to E
4 - to Backlight On/Off
5 - D4
6 - D5
7 - D6
8 - D7
If I were to send an I2C byte to this module with a value of 8 (that would be bit 3 set, with bits numbers 0 to 7), that would toggle the LCD backlight on. Sending a 0 would turn it off.
That was the first thing I was able to do. Here is an Arduino sketch that will toggle that pin on and off, making the backlight blink:
// PCF8574 connected to LCD2004/LCD1602/etc.
#include <Wire.h>

void setup() {
  // put your setup code here, to run once:
  Wire.begin ();
}

void loop() {
  // put your main code here, to run repeatedly:
  Wire.beginTransmission (39); // I2C address
  Wire.write (8); // Backlight on
  Wire.endTransmission ();

  delay (500);

  Wire.beginTransmission (39); // I2C address
  Wire.write (0); // Backlight off
  Wire.endTransmission ();

  delay (500);
}
Once I understood which bit went to which LCD pin, I could then start figuring out how to talk to the LCD.
One of the first things I did was create some #defines representing each bit:
We’ll use this later when building our own bytes to send out.
Here is a datasheet for the LCD2004 module. Communicating with an LCD1602 is identical except for how many lines you have and where they exist in screen memory:
I actually started with an LCD1602 datasheet and had it all working before I understood what “1602” meant a different sized display than whatI had ;-)
Sending a byte
As you can see from the above sample code, to send an I2C byte on the Arduino, you have to include the Wire library (for I2C) and initialize it in Setup:
#include <Wire.h>

void setup() {
  // put your setup code here, to run once:
  Wire.begin ();
}
Then you use a few lines of code to write the byte out to the I2C address of the PCF8574 module. The address is 39 by default, but there are solder pads on these boards that let you change it to a few other addresses.
Communicating with the LCD module requires a few more steps. First, you have to figure out which pins you want set on the LCD, then you write out a byte that represents them. The “E” pin must be set (1) to tell the LCD to look at the data pins.
After a tiny pause, you write out the value again but with the E pin bit unset (0).
That’s all there is to it! The rest is just understanding what pins you need to set for what command.
Instructions versus Data
The LCD module uses a Register Select pin (RS) to tell it if the 8-bits of I/O represents an Instruction, or Data.
Instruction – If you set the 8 I/O pins and have RS off (0) then toggle the Enable pin on and off, the LCD receives those 8 I/O pins as an Instruction.
Data – If you set the 8 I/O pins and have RS on (1) then toggle the Enable pin on and off, the LCD received those 8 I/O pins as a Data byte.
Reading and Writing
In addition to sending Instructions or Data to the LCD, you can also read Data back. This tutorial will not cover that, but it’s basically the same process except you set the Read/Write pin to 1 and then pulse the E pin high/low and then you can read the pins that will be set by the LCD.
Initialize the LCD to 4-bit mode
Since only 4 of the PCF8574 I/O pins are used for data, the first thing that must be done is to initialize the LCD module to 4-bit mode. This is done by using the Function Set instruction.
Function set is described as the following:
RS  RW  DB7 DB6 DB5 DB4 DB3 DB2 DB1 DB0
--- --- --- --- --- --- --- --- --- ---
0   0   0   0   1   DL  N   F   x   x
Above, RS is the Register Select pin, RW is the Read/Write pin, and DB7-DB0 are the eight I/O pins. For Function Set, pins DB7-DB5 are “001” representing the Function Select instruction. After that, the pins are used for settings of Function Select:
DB4 is Data Length select bit. (DL)
DB3 is Number of Lines select bit
DB2 is Font select bit
When we are using the PCF8574 module, it ONLY gives us access to DB7-DB4, so it is very smart that they chose to make the DL setting one of those four bits. We have no way to access the pins for N or F until we toggle the LCD in to 4-bit data length mode.
If we were using all 8 I/O pins, we’d set them like this to go in to 4-bit mode:
That sequence will initialize the LCD so we can send it commands. After that, we can use Function Set to change it to 4-bit mode (DB4 as 0 for 4-bit mode):
If we used all 8 I/O pins directly, we could also set Font and Number of lines at the same time after the three initializing writes. BUT, since we are using the PCD8547 and only have access to the top four bits (DB7-DB4), we must put the LCD in to 4-bit mode first. More details on how we use that in a moment.
If I wanted to initialize the LCD, I would just need to translate the I/O pins into the bits of a PCF8574 byte. For the first three initialization writes, it would look like this:
ABove, you see only need to pass in the bit pattern for DB7 DB6 DB5 DB4. This routine will set the Backlight Bit (it doesn’t have to, but I didn’t want the screen to blank out when sending these instructions), and then write the byte out with the E pin set, pause, then write it out again with E off.
Thus, my initialization can now look like this:
// Initialize all pins off and give it time to settle.
Wire.beginTransmission(PCF8574_ADDRESS);
Wire.write(0x0);
Wire.endTransmission();

delayMicroseconds(50000);

// [7  6  5  4  3  2  1  0 ]
// [D7 D6 D5 D4 BL -E RW RS]
LCDWriteInstructionNibble(0b0011);
delay(5); // min 4.1 ms

LCDWriteInstructionNibble(0b0011);
delayMicroseconds(110); // min 100 us

LCDWriteInstructionNibble(0b0011);
delayMicroseconds(110); // min 100 us

// Set interface to 4-bit mode.
LCDWriteInstructionNibble(0b0010);
That looks much more obvious, and reduces the amount of lines we need to look at since the function will do the two writes (E on, E off) for us.
Sending 8-bits in a 4-bit world
Now that the LCD is in 4-bit mode, it will expect those four I/O pins set twice — the first time for the upper 4-bits of a byte, and then the second time for the lower 4-bits. We could, of course, do this manually as well by figuring all this out and building the raw bytes outselves.
But that makes my head hurt and is too much work.
Instead, I created a second function that will send an 8-bit value 4-bits at a time:
You’ll notice I pass in the Register Select bit, which can either be 0 (for an Instruction) or 1 (for data). That’s jumping ahead a bit, but it makes sense later.
I can then pass in a full instruction, like sending Function set to include the bits I couldn’t set during initialization when the LCD was in 8-bit mode and I didn’t have access to DB3-DB0. My LCDInit() routine set the LCD to 4-bit mode, and then uses this to send out the rest of the initialization:
// Function Set
// [0  0  1  DL N  F  0  0 ]
// DL: 1=8-Bit, 0=4-Bit
//  N: 1=2 Line, 0=1 Line
//  F: 1=5x10, 0=5x8
//             [--001DNF00]
LCDWriteByte(0, 0b00101000); // RS=0, Function Set

// Display On
// [0  0  0  0  1  D  C  B ]
// D: Display
// C: Cursor
// B: Blink
//             [--00001DCB]
LCDWriteByte(0, 0b00001100); // RS=0, Display On

// Display Clear
// [0  0  0  0  0  0  0  1 ]
LCDWriteByte(0, 0b00000001);
delayMicroseconds(3);  // 1.18ms - 2.16ms

// Entry Mode Set
// [0  0  0  0  0  1  ID S ]
// ID: 1=Increment, 0=Decrement
//  S: 1=Shift based on ID (1=Left, 0=Right)
//             [--000001IS]
LCDWriteByte(0, 0b00000110);
To make things even more clear, I then created a wrapper function for writing an Instruction that has RS at 0, and another for writing Data that has RS at 1:
// Entry Mode Set // [0 0 0 0 0 1 ID S ] // ID: 1=Increment, 0=Decrement // S: 1=Shift based on ID (1=Left, 0=Right) // [--000001IS] LCDWriteInstructionByte(0b00000110);
The Display Clear instruction is 00000001. There are no other bits that need to be set, so I can clear the screen by doing “LCDWriteInstructionByte (0b00000001)” or simply “LCDWriteInstructionByte(1)”;
Ultimately, I’d probably create #defines for the different instructions, and the settable bits inside of them, allowing me to build a byte like this:
FUNCTION_SET would represent the bit pattern 0b00100000, and the DL_BIT would be BIT(4), N_BIT would be BIT(3) and F_BIT would be BIT(2). Fleshing out all of those defines and then making wrapper functions would be trivial.
But in my case, I only needed a few, so if you wanted to make something that did that, you could:
This type of thing can allow your code to spiral out of control as you create functions to set bits in things like “Display On/Off Control” and then write wrapper functions like “LCDDisplayON()”, “LCDBlinkOn()” and so on.
But we won’t be going there. I’m just showing you the basic framework.
Now what?
With the basic steps to Initialize to 4-Bit Mode, then send out commands, the rest is pretty simple. If you want to write out bytes to be displayed on the screen, you just write out a byte with the Register Select bit set (for Data, instead of Instruction). The byte appears at whatever location the LCD has for the cursor position. Simple!
At the very least, you need a Clear Screen function:
The last thing I implemented was a thing that sets the X/Y position of where text will go. This is tricky because the display doesn’t match the memory inside the screen. Internally my LCD2004 just has a buffer of screen memory that maps to the LCD somehow.
The LCD data is not organized as multiple lines of 20 characters (or 16). Instead, it is just a buffer of screen memory that is mapped to the display. In the case of the LCD2004, the screen is basically 128 bytes of memory, with the FIRST line being bytes 0-19, the SECOND line being bytes 64-83, the THIRD line being bytes 20-39, and the FOURTH line being bytes 84-103.
If you were to start at memory offset 0 (top left of the display) and write 80 bytes of data (thinking you’d get 20, 20, 20 and 20 bytes on the display), that wouldn’t happen ;-) You’d see some of your data did not show up since it was writing out in the memory that is not mapped in to the display. (You can also use that memory for data storage, but I did not implement any READ routines in this code — yet.)
If you actually did start at offset 0 (the first byte of screen memory) and wrote a series of characters from 32 (space) to 127 (whatever that is), it would look like this:
Above, you can see the first line continues on line #3, and then after the end of line 3 (…EFG” we don’t see any characters until we get to the apostrophe which displays on line 2. Behind the scenes, memory looks like this:
All you need to know is that the visible screen doesn’t match LCD memory, so when creating a “set cursor position” that translates X and Y to an offset of memory, it has to have a lookup table, like this one:
You will see I created a function that sends the “Set Offset” instruction (memory location 0 to 127, I think) and then a “Set X/Y” function that translates columns and rows to an offset.
With all that said, here are the routines I cam up with. Check my GitHub for the latest versions:
The LCDTest.ino program also demonstrates how you can easily send an Instruction to load character data, and then send that data using the LCDWriteData functions.
I plan to revisit this with more details on how all that works, but wanted to share what I had so far.
2024-04-17 – Added USB mode, 5.7K+ and charging display.
2024-04-18 – Automatic screen brightness! Also, 1.0.8 is out but the release notes look the same as 1.0.6. It was a tiny update file.
2024-04-19 – Added link to Eat Sleep 360 video.
There are quite a few things in the firmware that none of the X4 videos mentioned, so I assume these were not in the beta firmware the YouTubers had.
Some quick first impressions, coming from the X2 then X3:
This thing feels larger and bulkier.
The rubber lens cap for it is much thicker, to allow room for the screw-on lens protectors. This means cases, etc. will have to be much thicker, as well, to store the X4 with the lens cap on.
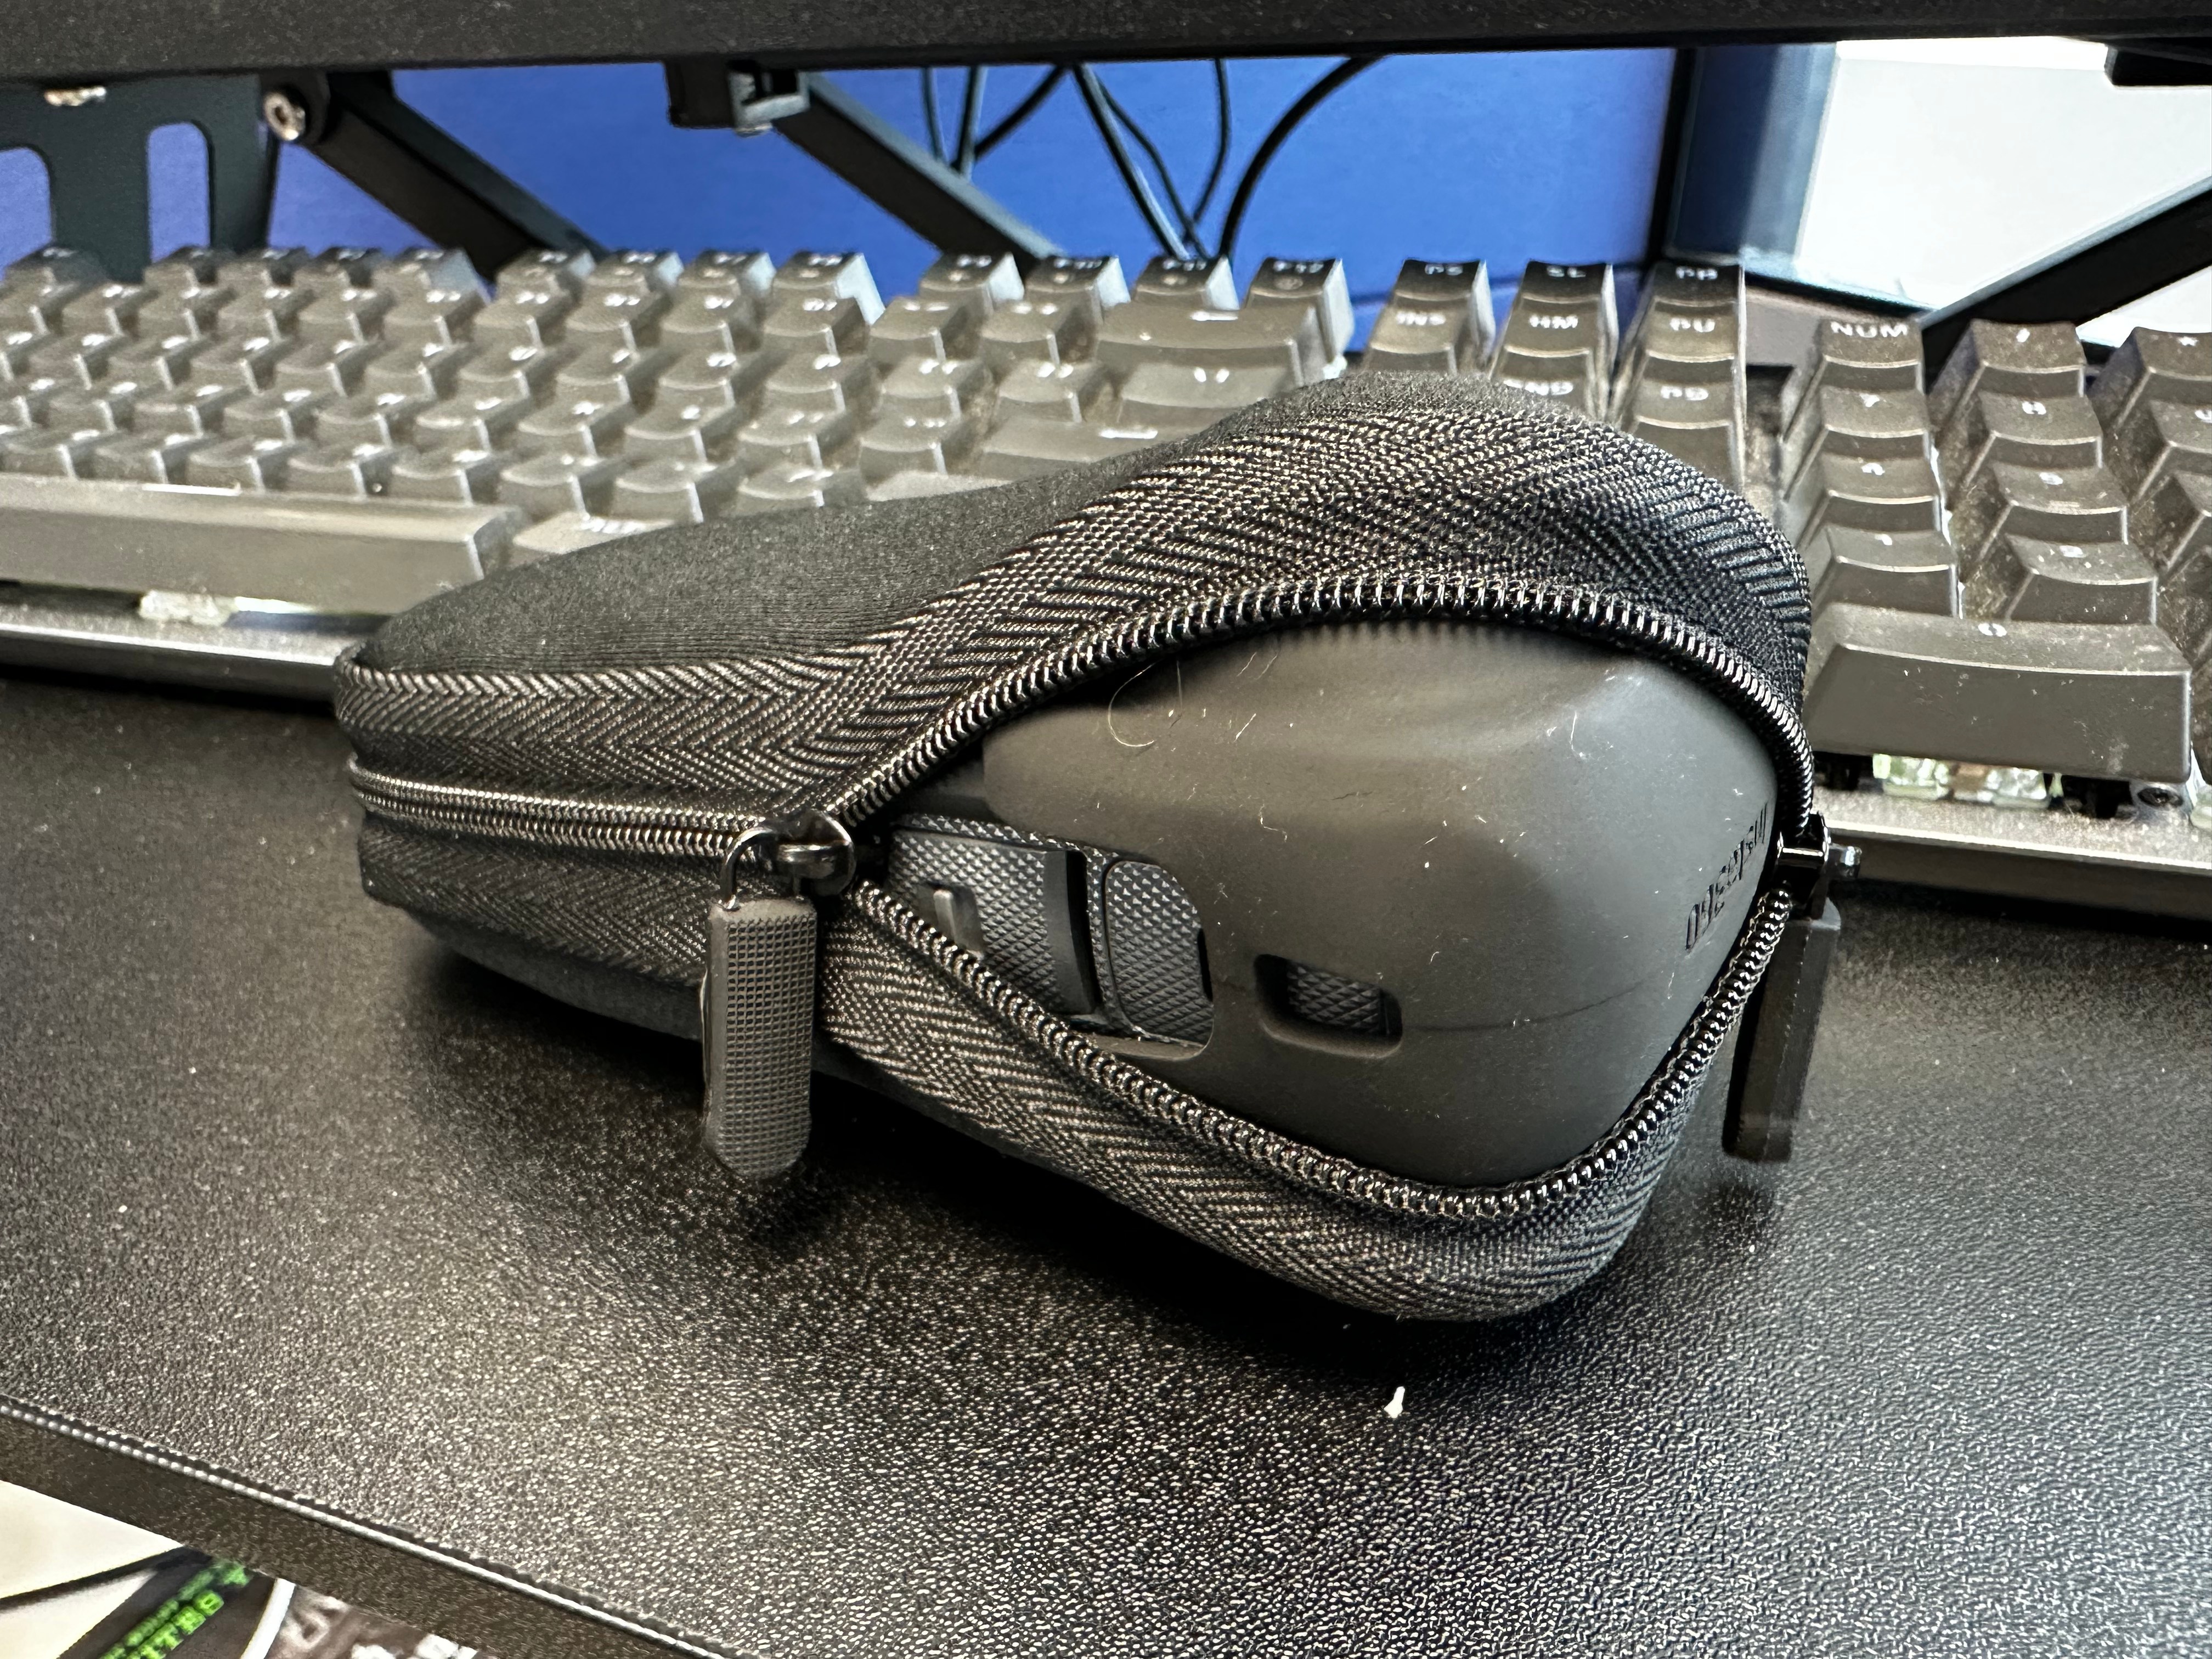
The included pouch cannot hold the X4 with the lens cap. It will hold the X4 with the included Thermo Cover Grip, though, and has pockets for the lens protectors and cleaning cloth. I would not put the USB-C cable in there, as it can stick out of the pocket and scratch your X4.
Firmware notes:
After activation, I see a random (?) WiFi password is assigned. An X3 firmware update gave us the ability to change the default 88888888 (which the X4 still defaults to, per videos I have watched). It looks like Insta360 now randomizes it so this step is not needed to prevent nearby folks from accessing and download all your files while your camera is on ;-) (I have not tested to see if the open access is still there, if you know the WiFi password, but I will soon.)
After activation, the firmware shows you about adding lens protectors, and changing settings to match what type you have (plastic, or premium). THere is also an “automatic” setting where it will try to detect that you are using lens protectors. I expect this means they impact stitching.
There is then a nice tutorial that walks you throgh the user interface – swiping up and down and such to navigate the menus.
THe user interface is fancier now. When a picture is taken, you see a small thumbnail appear, then fly off the screen. There are a few spiffy things like that I have noticed, so far.
You also get pop ups that warn you if lighting is too low for the mode you are in.
NEW from X3:
Lens Guard Mode – Auto, Standard, Premium, No Lens Gaurd
Screen Reader – “When on, the camera provides voice prompts for certain commands or actions.”
Prompt Sound – Now has “Adaptive” in addition to High, Medium, Low and Mute.
AI Highlights Assist – “AI will analyze video highlights during filming for faster editing on the Insta360 App.” It mentions this increased power consumption and temperature.
Gesture Control – this works well. Show a two finger “peace sign”, and you get a countdown (so you can move your hand) and it takes the photo. Hold you palm and it will start or stop recording. On this on/on screen is a little animation of a person showing how to do each one. (Scroll down to see the other. It was not intuitive that there was more below this animation; I expected it to just show me both.) THIS IS NEAT.
Timed Capture – The X4 has a clock. Turn this on, and you set a Start Time and Duration (which can be “infinite”) and a Repeat Frequency (Once, or Every day). You also set shooting mode (video, photo, all the modes, 360 or single lens, etc.) and parameters (resolution and frame rate), and image parameters (auto, ISO, etc.).
Audio Settings – adds “Auto Wind Noise Reduction.” Old “Window Noise Reduction” is now called “Active Wind Noise Reduction.”
There is a setting of all the quick access modes that now has defaults for Motorcycling, Skiing, and Outdoors. You can “+” to add a new one and pick from a list of presets (Surfing, Running, Biking, Cars, etc.). You can also Customize where you can make your own, and it will show as “Customize” or as one of the preset names you set it to. This is still not as good as being able to give it your own name, but better.
UPDATE: There is no USB setting. When you plug it in to a computer, you get a screen asking “U-Disk Mode” or “Reverse Charging”.
UPDATE: In addition to 5.7K, there is also 5.7K+. “”Close to 8K image quality but with a smaller file size. 5.7K+ is not suitable for low light conditions.”
UPDATE: While charging, the screen displays a circle and the percentage charged.
UPDATE: Automatic screen brightness! I missed the on screen button next to the slider. In a dark room, the screen goes dim. In bright light, the brightness increases so you can see it. Nice battery saver!
Settings has new options:
“Touch to activate when off”
“Power-off Charging” that tells what action happens when you plug in to charge (Charge only, Charge and power on, Charge and record). Charge and record could allow you hooking this up to a timed outlet and turning that outlet on to automatically start recording video, but I have not tested this yet.
Long press Shutter Button to cancel recording – nice. That saves a swipe, I guess.
Thermo Grip Cover – Automatic Recognitions, Installed or Uninstalled. A note about this – the cover has two white dots below it. I think that is how it knows the cover is installed. It also impacts stitching so you have to set the mode to match. The manual warns to not install or remove while recording or stitching will get messed up.
Date and Time – set by the app but you can set it here. I do not know how it deals with time zones. I suppose you’d just have to sync your phone to the camera when you get to the new time zone? You can change the Date Format as well (MM/DD/YY versus DD/MM/YY or YY/MM/DD).
Reset Tutorial – to go back and learn it all again.
There is alot here that wasn’t mentioned in any of the videos I watched, so I expect we will see Part 2 as the YouTubers get to play with the current firmware.
I will say again – this camera feels much larger and bulkier. I hope the added features are worth it.
More to come. Tonight I’ll try to record my X3-X4 comparison videos where I do some 5-10 minute clip without edits so folks can compare raw output rather than short demonstration clips.
UPDATE: Eat Sleep 360 posted a 3 minute video going over many of these options, and a few that I was unaware of.
2024-03-09 – Added Dropbox link for direct download, any more background details. I have let Roger know I am now ready to download the 1987 version files and get those available.
Last year, Roger Taylor went through the effort and expense to have the Tandy/Radio Shack Color Computer 3’s custom “GIME” chip decapped and scanned. Super high resolution images are available. This should give someone with the knowledge and skills the ability to reproduce these custom chips.
Read more about this, and other fascinating projects, on Roger’s Patreon page. Consider supporting him. He has made some interesting acquisitions lately, including a “did we know this existed?” Mexico CoCo 3 called a MicroSEP II. He has also spend thousands of dollars to acquire the source code archives of the late Steve Bjork.
Use this “1986 GIME.torrent” file to download with a BitTorrent client and help seed it for others to get a backup of these files. I also have the files in a Dropbox share for those really patient with downloading 140+ GB of image files.
12/9/2024 Update: I have also tested this trick with the new DJI Mic Mini, and it works for that as well.
The DJI MIC 2 can pair to an iPhone via Bluetooth, but the built-in iPhone camera app (the “native camera app”) does not automatically use it. Various YouTubers and web pages and even ChatGPT say you have to use a third-party camera app that allows selecting the Bluetooth microphone.
But that is not true. You can run an app such a RODE Reporter, select the DJI MIC 2 (or DJI Mic Mini), then run the native camera app and it works fine.
Thank you, RichardTaylorTV, for not just echoing the same junk everyone else is doing.
VAL() takes a string and converts it in to a floating point numerical variable. The value of “1E39” is a number in scientific notation, and this appears to cause a problem.
In Microsoft BASIC, the notation “1E39” represents the number 1 multiplied by 10 raised to the power of 39. This is also known as scientific notation, where the “E” indicates the exponent to which the base (10 in this case) is raised. So, “1E39” is equal to 1 * 10^39, which is an extremely large number:
These days, I feel like I am regularly saying “I’ve learned more this week about X than I learned in Y years of using it back in the 1980s!”.
This is another one of those.
Each line of a Color BASIC program is tokenized (changing keywords like PRINT to a one or two byte token representing them) and then stored as follows:
2-Bytes – Address in memory where next line starts
2-Bytes – Line number (0-63999)
n-Bytes – Tokenized program line.
1-Byte – Zero (0), indicating the end of the line
The four byte header and the 1 byte zero terminator mean that each line has an overhead of 5-bytes. You can see this by printing free memory and then adding a line that has a one byte token, such as “REM” or “PRINT”:
Above, you see the amount of memory decreases by 6 bytes after adding a line. That’s five bytes for the overhead, and one byte for the “REM” token.
The BASIC program starts in memory at a location stored in memory locations 25 and 26. You can see this by typing:
PRINT PEEK(25)*256+PEEK(27)
There are other such addresses that point to where variables start (directly after the program), and where string memory is. Here is an example program from an earlier article I wrote that shows them all. (The comments explain what each location is.)
0 ' BASINFO3.BAS

10 ' START OF BASIC PROGRAM
20 ' PEEK(25)*256+PEEK(26)

30 ' START OF VARIABLES
40 ' PEEK(27)*256+PEEK(28)

50 ' START OF ARRAYS
60 ' PEEK(29)*256+PEEK(30)

70 ' END OF ARRAYS (+1)
80 ' PEEK(31)*256+PEEK(32)

90 ' START OF STRING STORAGE
100 ' PEEK(33)*256+PEEK(34)

110 ' START OF STRING VARIABLES
120 ' PEEK(35)*256+PEEK(36)

130 ' TOP OF STRING SPACE/MEMSIZ
140 ' PEEK(39)*256+PEEK(40)

150 ' USING NO VARIABLES
160 PRINT "PROG  SIZE";(PEEK(27)*256+PEEK(28))-(PEEK(25)*256+PEEK(26)),;
170 PRINT "STR SPACE";(PEEK(39)*256+PEEK(40))-(PEEK(33)*256+PEEK(34))
180 PRINT "ARRAY SIZE";(PEEK(31)*256+PEEK(32))-(PEEK(29)*256+PEEK(30)),;
190 PRINT " STR USED";(PEEK(39)*256+PEEK(40))-(PEEK(35)*256+PEEK(36))
200 PRINT " VARS SIZE";(PEEK(29)*256+PEEK(30))-(PEEK(27)*256+PEEK(28)),;
210 PRINT " FREE MEM";(PEEK(33)*256+PEEK(34))-(PEEK(31)*256+PEEK(32))
I thought it might be interesting to write a BASIC program that displays information on each line of the BASIC program. That information would include:
Start address of the line
Address of the next line
Line number of the line
Here is what I came up with. It can use generic PRINT in lines 40 and 70 (for Color BASIC) or a nicer formatted PRINT USING (for Extended Color BASIC) in lines 50 an 80.
For this program, as shown, running on a virtual 32K Extended Color BASIC CoCo in the XRoar emulator, I see:
The first column (ADDR) is the address of the BASIC line in memory. After that is the address of where the next line begins (NADDR), and it will match the address shown at the start of the following line. The third column is the line number (LINE#), and last is the size of the line (SIZ) which includes the tokenized line AND the terminating zero byte at the end of it.
The final line has a “next address” of zero, indicating the end of the file.
At the start of the program I included three comments:
0 'BASINFO.BAS
1 REM BASINFO.BAS
2 REMBASINFO.BAS
In the output of the program, you see them described as:
You can see that the length of lines 0 and 1 are both 18, even though one looks like it should be shorter. In this case, the apostrophe (‘) abbreviation for REM seems to take as much space as “REM ” (with a space after it). This is because the apostrophe is encoded as a “:REM” (colon then REM). Alex Evans recently reminded me of this. This behavior would allow you to use it at the end of a line like this:
10 LINE INPUT A$'ASK FOR USERNAME
…instead of having to do:
10 LINE INPUT A$:REM ASK FOR USERNAME
But don’t do either! REMs at the end of the line can be the worst place to have REMs, since BASIC will have to scan past them to get to the next line, even if they are after a GOTO. This makes them slower. (Reminder to self: do an article on this since I’ve learned more since I original covered the topic in one of my Benchmarking BASIC articles…)
But I digress…
If you wanted to run this on your own program, you could do so by making this routine load at a high line of BASIC (higher than any lines you might be using), then you could save it as ASCII (SAVE”BASINFO”,A) and then use MERGE”BASINFO” (from disk) to bring those lines in to your program.
63000 PRINT " ADDR NADDR LINE# SIZ":L=PEEK(25)*256+PEEK(26)
63001 NL=PEEK(L)*256+PEEK(L+1):PRINT USING"##### #####";L;NL;:IF NL=0 THEN END ELSE PRINT USING" ##### ###";PEEK(L+2)*256+PEEK(L+3);NL-L:L=NL:GOTO 63001
Now you could do RUN 63000 to see what your program looks like. (The highest line number Color BASIC allows is 63999 so you could change that to 63998 and 63999 if you wanted absolutely the most line numbers available for your program ;-)
You could also add “IF L=63000 THEN END” somewhere and have it stop when it hits that routine.
What use is this?
For an upcoming article, I expect to use a version of this code to “prove” something as it relates to BASIC and the length of lines.
But, it might also be fun to generate some statistics — longest line, shortest line, a graph of the different line lengths, etc.
I graduated high school in 1987. Even though the CoCo 3 had come out the year before, I had remained with my CoCo 2. Sub-Etha Software co-founder, Terry, got his CoCo 3 first. I remember him asking me questions that I could not answer because he had lots of new features I never had seen.
By 1988 I had my own CoCo 3. I don’t recall when I got it, but it had to be in 1987 since I was writing CoCo 3 programs in January. One such program (or programs) was to display video titles. My father was producing a video which would be running at the Callaway Boatworks booth at the 1988 Houston Boat Show.
A few years ago, when I was going through 400+ floppy disks to archive them to a CoCoSDC, I found this disk but it had sector errors. While I could RUN some of the programs, many would not load due to disk errors.
Since then, I discovered a hard drive copy of the disk I had made to my KenTon RGB-DOS drive system. This image was intact! I wanted to go through the titles “some day” and see what all I had done.
“Some day” happened last week. I used the toolshed “decb” utility to pull each BASIC program off the disk image and convert it to ASCII. I then looked through all of them in Visual Studio Code on my Mac. Certain programs would daisy-chain to other programs, using a RUN”NEXTPROG” command at the end. Some paused for a key (at a black screen) before drawing the titles. The BREAK key (and CoCo 3 ON BRK command) was used to skip to the next program (why did I do it that way?).
I was able to come up with a list of two segments of daisy-chained titles, and then the rest were just one-off titles on their own. I recorded the two sequences, and all the separate images, and posted the video to YouTube:
1988 Houston Boat Show graphics done on a CoCo 3 in BASIC.
Some internet searching shows that Callaway Boatworks no longer exists. A few others in the video have since disappeared from the market, but the Houston Boat Show continues to this day.
I wrote them to see if they could provide a vendor list from 1988. I did not expect a response, but got one! They sent me a scan of the exhibitors from that year’s show, and I can now locate the two spots that Callaway Boatworks had that year.
A huge thank you to Lynette M at the boat show for taking time to get me this information. My father passed away a few years ago, so I did not have him to ask about these things.