

UPDATES:
- 2026-07-21 – Typo (thanks, Tim L.).
NOTE: The author of this work will be referred to as Abraham Lincoln ;-) per this comment: “Thanks! But I’m terribly modest and shy away from attention. So, I humbly request that you refer to me as “Abraham Lincoln”.” ;-)
TRSDOS was the name of the disk operating system that Radio Shack used on their TRS-80 computers.
https://en.wikipedia.org/wiki/TRSDOS
There were alternative DOSes available, but TRSDOS is where it started, and what shipped with the original machines. As I write this post, I see that the last version of TRSDOS was released 42 years ago.
When the TRS-80 Color Computer came out in 1980, it was a T.I.N.O. – “TRS-80 In Name Only”. The 80 in TRS-80 came from the Zilog Z-80 processor, and the Color Computer used a Motorola 6809 processor. I assume Tandy just wanted to leverage the popularity of the TRS-80 brand and continue using that name. The use of TRS-80 continued even into 1983 when Tandy brought out its first PC-compatible-ish machine, the Tandy 2000. Officially called the “Tandy” 2000, the badge on the front of the machine still read “Tandy TRS-80.” This was, according to the always-accurate Wikipedia, the final use of TRS-80 branding on a Radio Shack computer. When the more-PC-compatible-ish Tandy 1000 came out in 1984, it was solely a Tandy-branded machine.
But I digress.
TRSDOS was never a thing for the CoCo. There was no disk operating system. Instead, the CoCo booted into a ROM BASIC. When a Disk Controller was added, it contained another ROM that extended the basic with new disk-related commands. DISK EXTENDED BASIC was not an operating system, but most of us referred to it as “RS-DOS” (Radio Shack DOS, one would presume). I am unsure when we started calling it RS-DOS. This would be a good side quest to research. I assume by the time OS-9 (an actual disk operating system) was released, we would have needed some way to tell if a program ran from DISK BASIC or required OS-9.
But I digress, again.
Color TRSDOS was a thing.
Color TRSDOS did exist, but perhaps it was another T.I.N.O. – this time meaning “TRSDOS In Name Only”. Color TRSDOS was included with the DISK EDTASM 6809 assembler. In the manual was a source code listing and on the disk was a DOS.BIN binary and DOS.BAS loader program that was Color TRSDOS.

But what was Color TRSDOS?
What was Color TRSDOS?
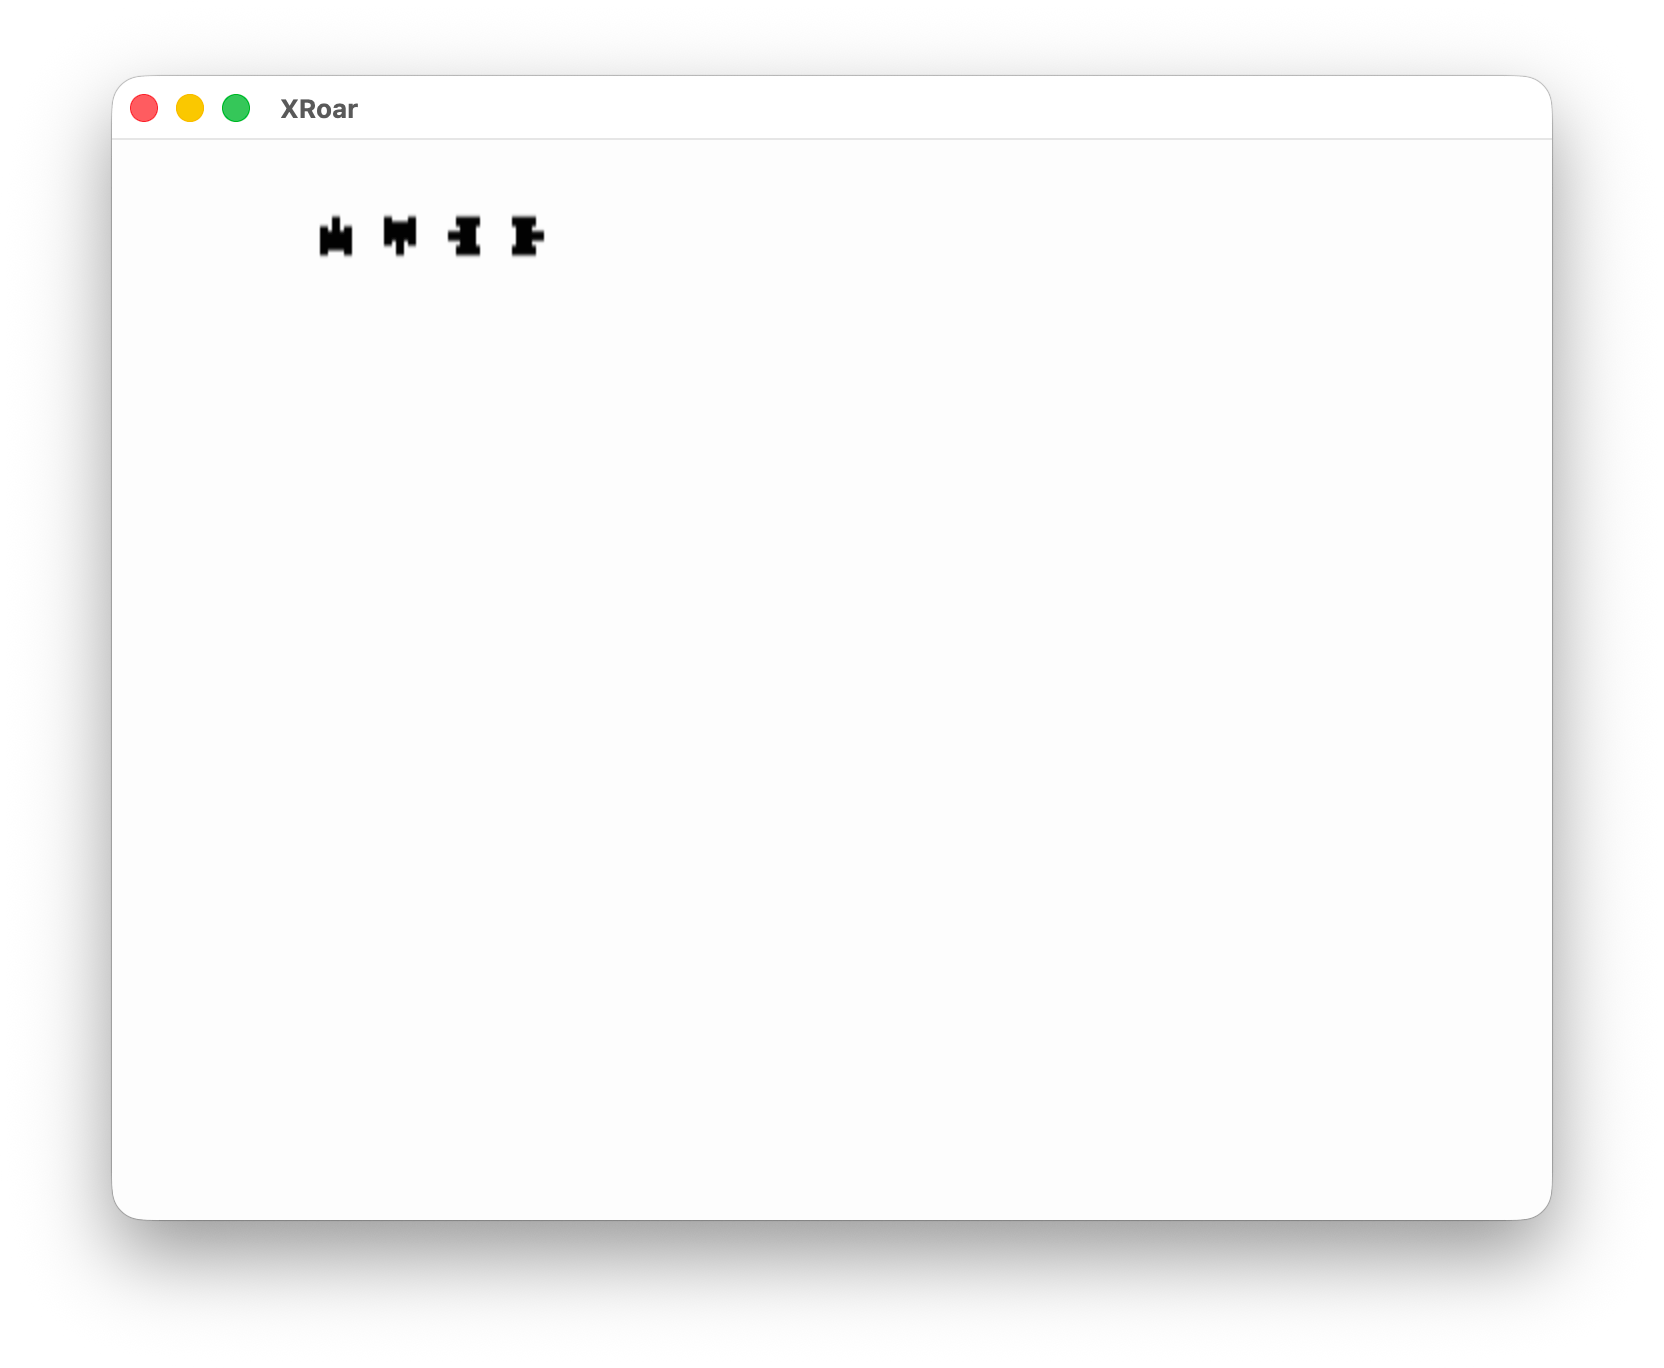
If you do a RUN”DOS” form the Disk EDTASM disk, you are greeted with a menu:
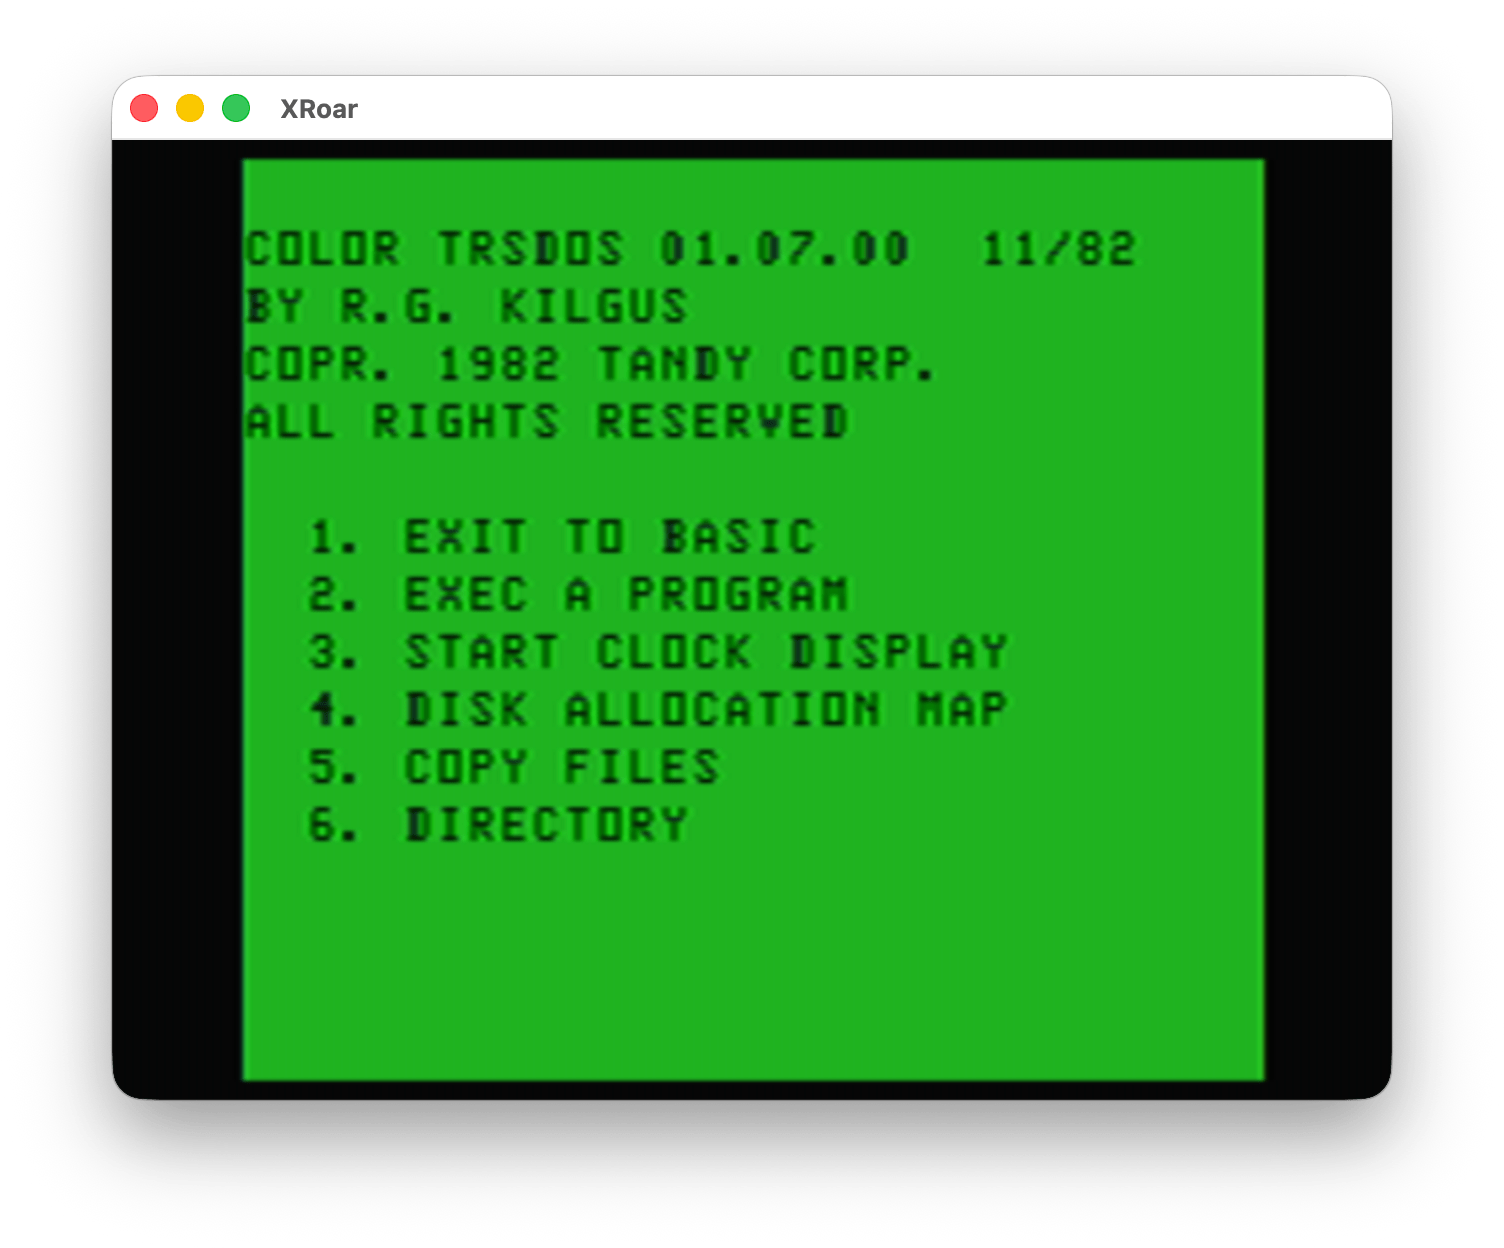
The name “R.G. Kilgus” is instantly recognizable to early adopters of the CoCo. R.G. created some of the earliest Radio Shack programs for to CoCo, including the infamous Dino Wars!
https://www.lcurtisboyle.com/nitros9/dinowars.html
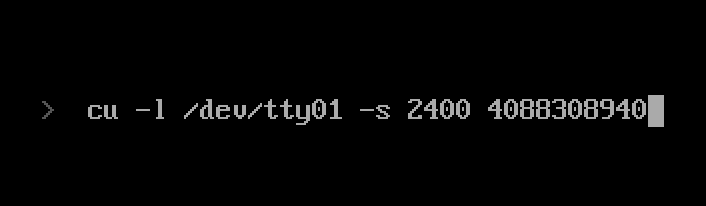
As you may be able to tell from the screenshot, Color TRSDOS was not a DOS like we might expect. Normally, a DOS boots up into a command line that lets you run programs. MS-DOS is probably the most iconic DOS that comes to mind for me:

Instead, Color TRSDOS seemed to be more of a library of disk routines that one could use with their own 6809 assembly programs. BASIC documented a few “official” ROM calls that could be called from assembly routines to do things like print a character to the screen or input a character from the keyboard. DISK BASIC added one that could read or write raw data to a disk. This was very low level, and there was no ROM call to do things like read a directory, create a new file, delete an existing file, or anything else. This means assembly language programmers had to figure that out and write all that code themselves.
Color TRSDOS appears to have been Radio Shack’s official solution for this. You could use the Color TRSDOS assembly language routines in your own programs and get higher level disk functionality, such as the things shown in the Color TRSDOS menu.
Side Note: What was the license agreement for Color TRSDOS? Could that code be included in commercial sold software, or was it only allowed to be used for personal programs? Anyone know?
Maybe I ran into Color TRSDOS in some CoCo program I used over the years. There were certainly many programs that could load/save files to disk and show directories. Maybe some of these made use of the Color TRSDOS routines. Does anyone know of any program that ever used the Color TRSDOS routines?
What could Color TRSDOS do?
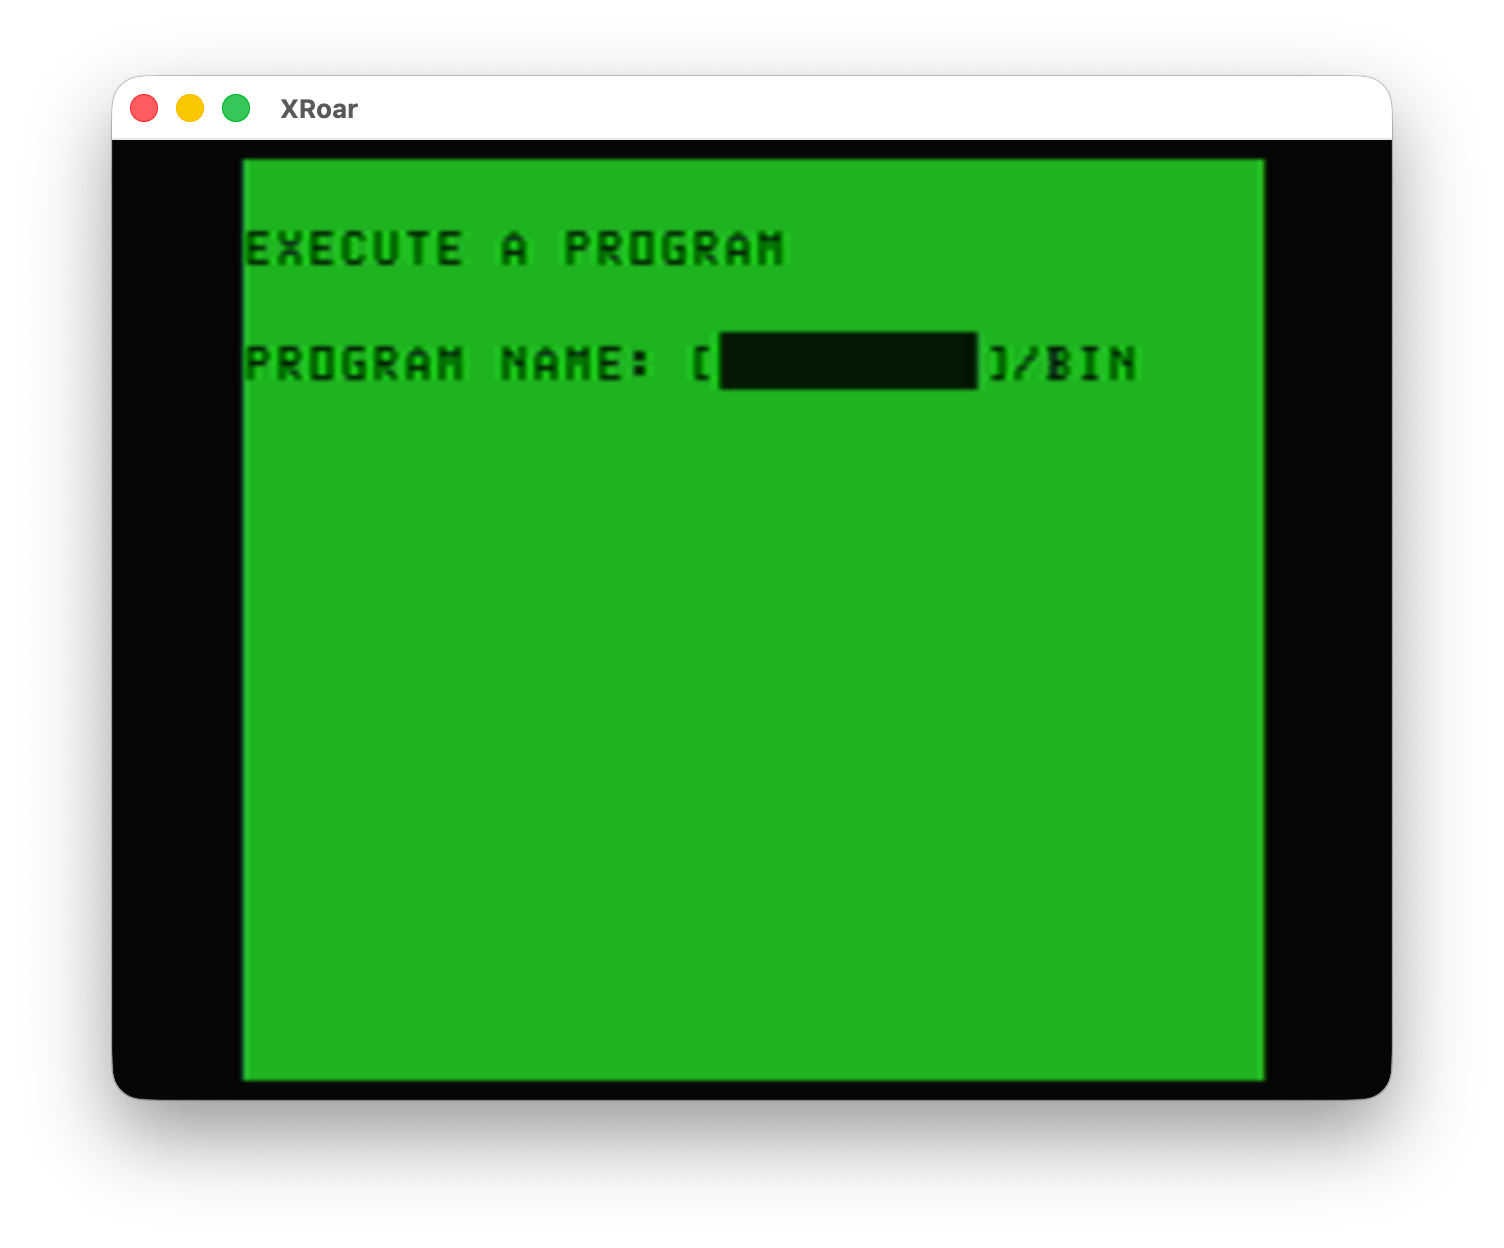
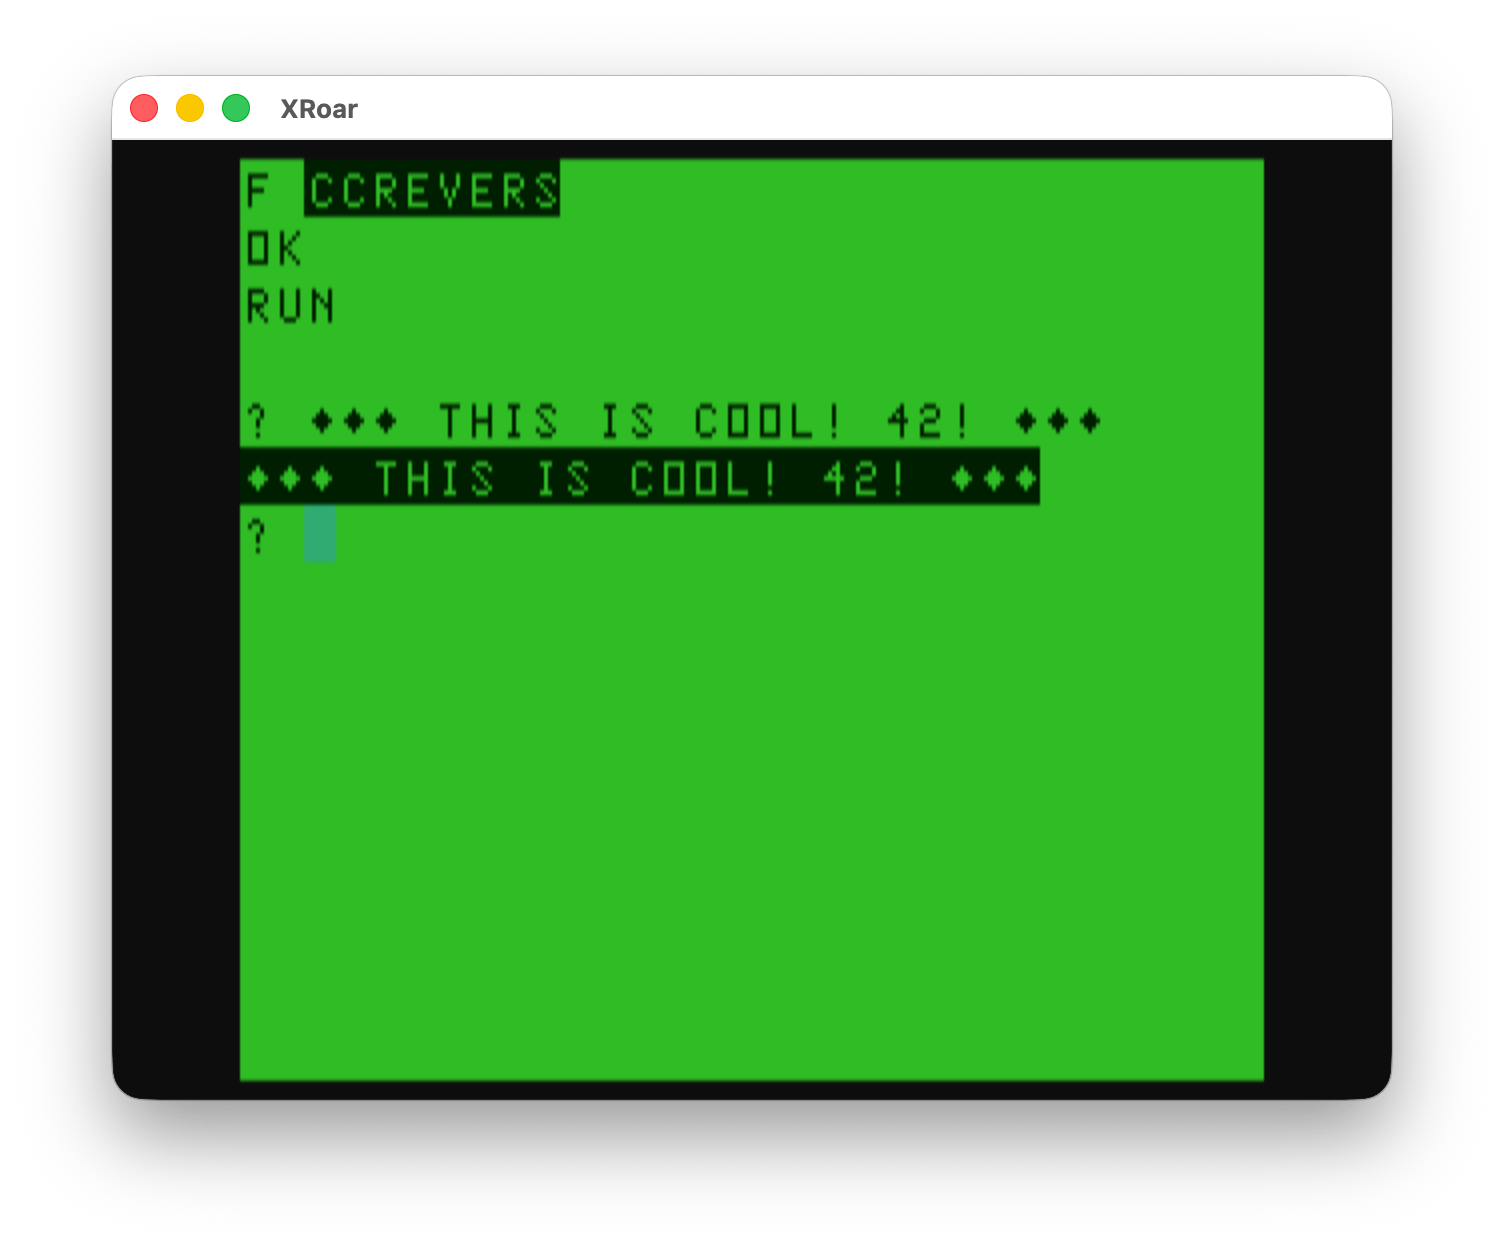
It appears Color TRSDOS has a way to load and execute a binary program, as demonstrated from menu option #2:
There was also support for a software clock, as demonstrated by menu option #3. It would put an incrementing Hour/Minute/Second value in the top corner of the screen:
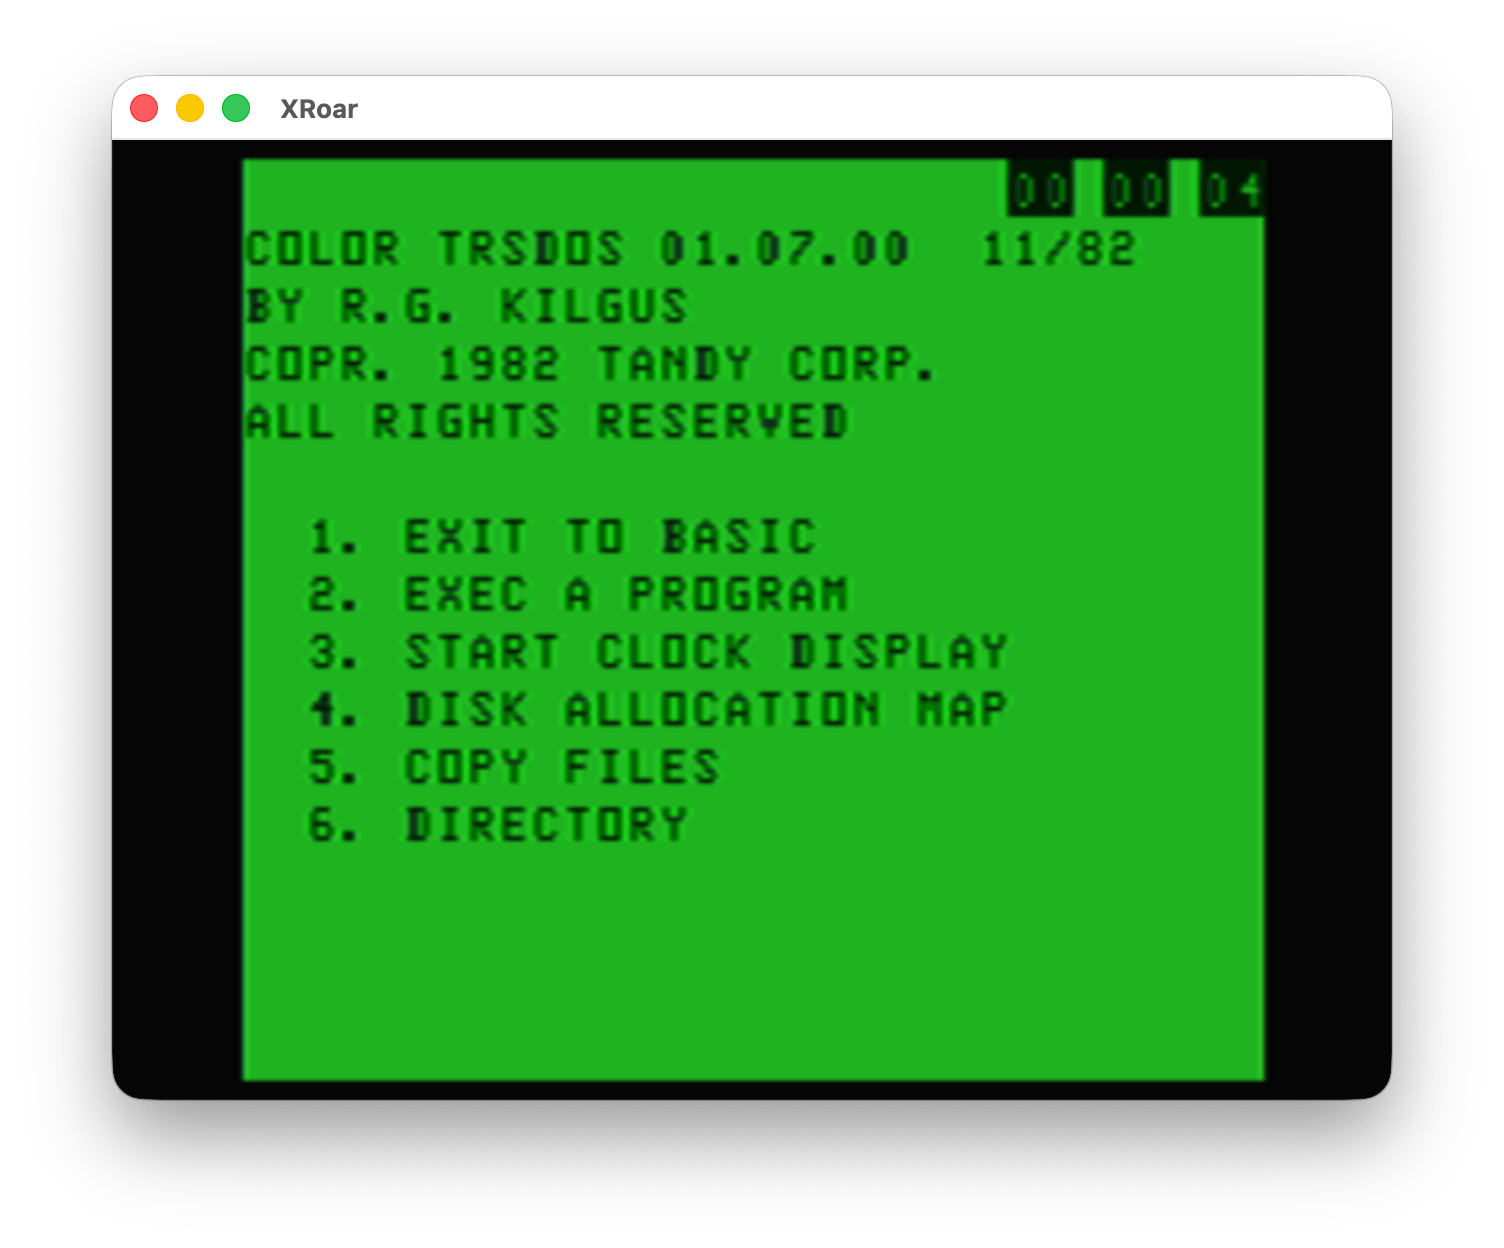
The Color Computer used the video circuitry to generate a 60Hz signal (also used by the TIMER command in BASIC). It was common for software clocks to make use of this and track time, though this time would drift any time interrupts were masked — such as when accessing a disk.
I have not explored the code myself, but I assume Color TRSDOS just provided a simple software clock for programs to use.
Option #4 would display the Disk Allocation Map. This display showed which granules on the disk were in use. From looking at the display, you can see it represents the 68 granules (9 256-byte sectors, 2304 bytes) that make up an RS-DOS disk. It looks like “.” indicates the granule is free, “X” may indicate all of the 9 of the 256-byte sectors in that granule are used, and a number may indicate how many sectors are used (if less than 9).
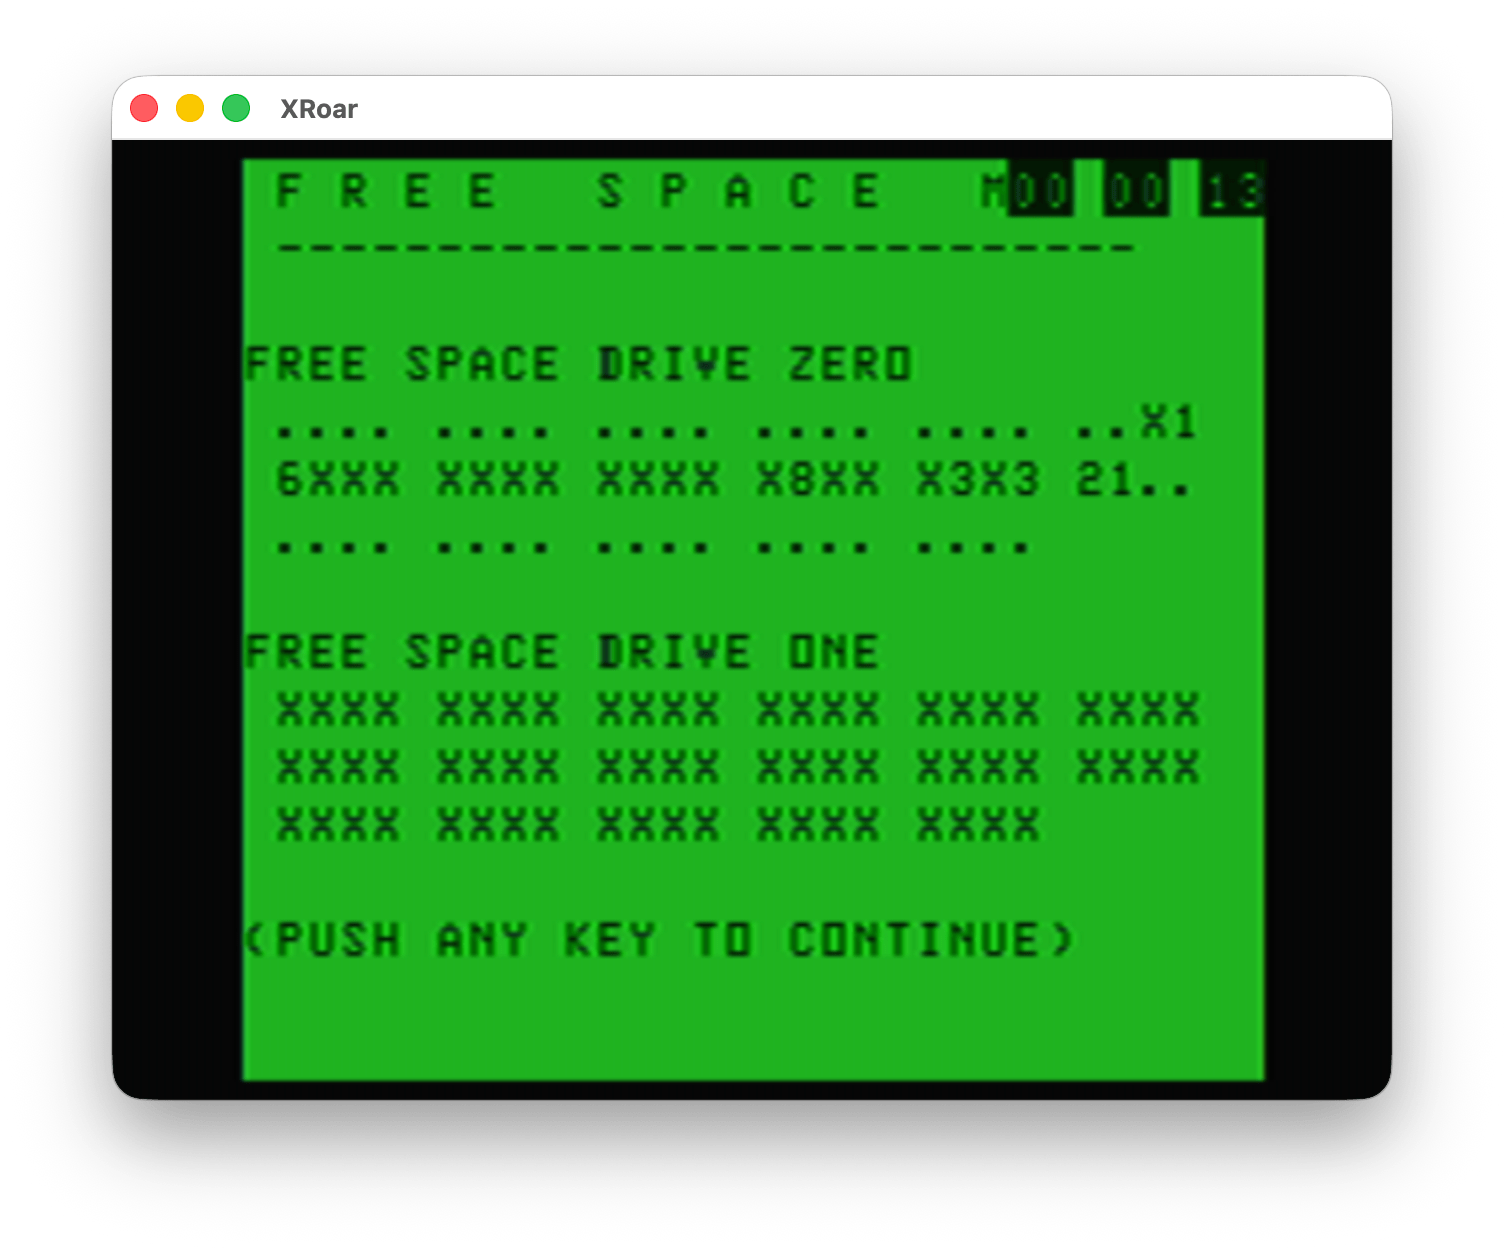
I have discussed DISK EXTENDED BASIC’s format and this Disk Allocation Map in previous blog posts. Check that link to learn more about granules and such.
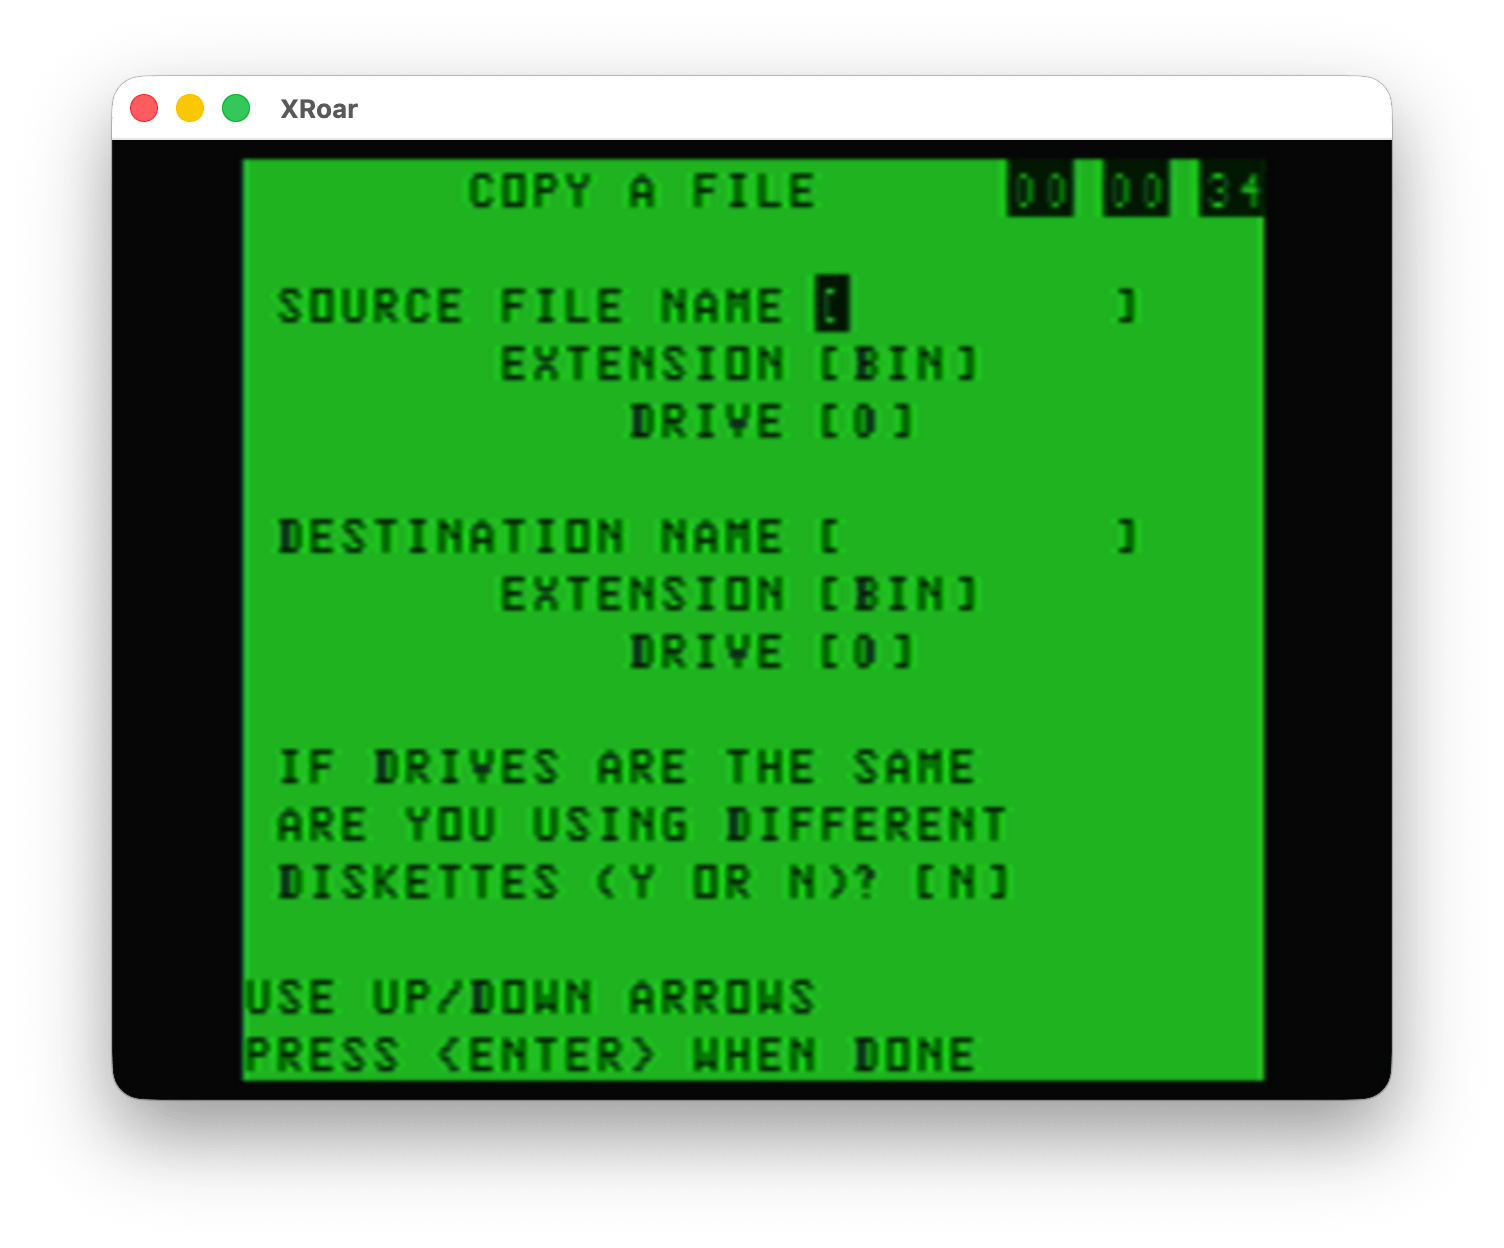
Option #5 showed a simple interface to copy a file, either between the same disk or to separate disks. To copy a file to the same disk in Disk BASIC, you’d do something like this:
COPY "FILE.BAS" TO "NEWFILE.BAS"
This basically duplicated the file, and required a different name for the copy.
To copy a file from Drive 0 to Drive 1:
COPY "FILE.BAS:0" TO "FILE.BAS:1"
But BASIC had no way to copy between separate disks if you only had one disk drive. It looks like this Color TRSDOS program may have a way to do that, where it would read data from the disk, then tell you to swap in the second disk, then write it out there. (I did not test this.)
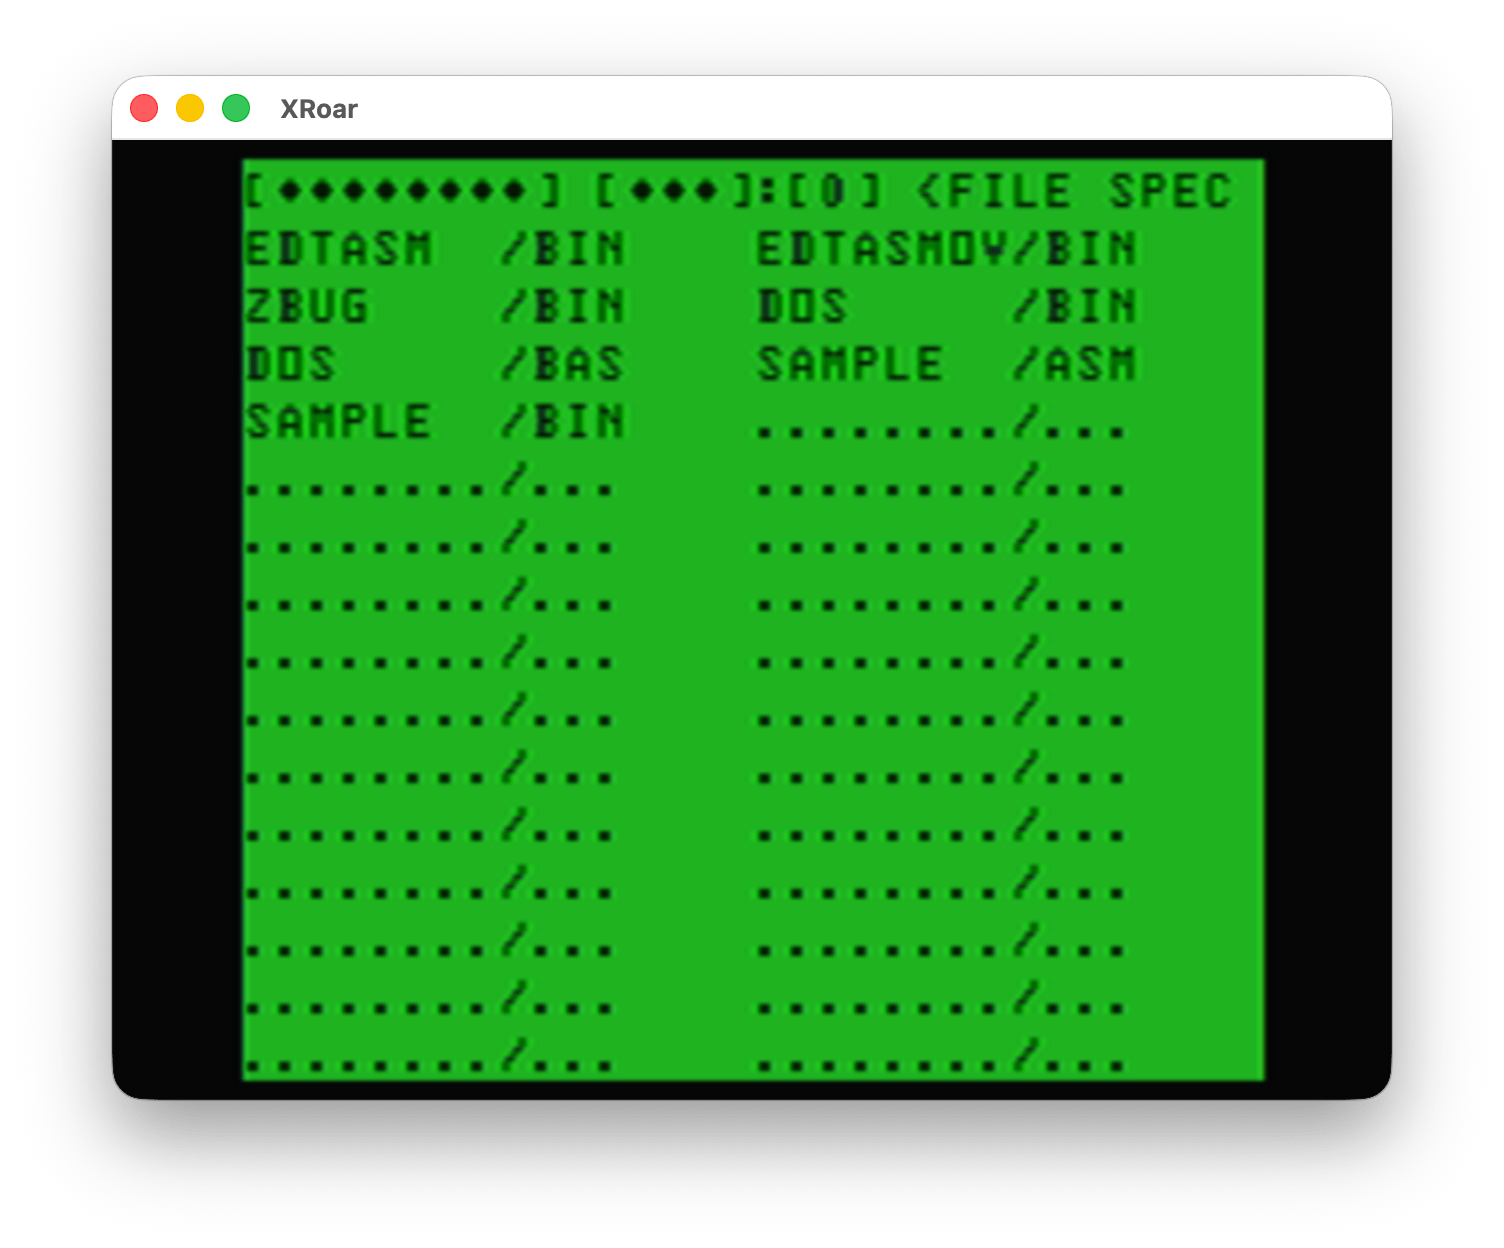
Last, option #6 performed a disk directory. I am unsure how this works, since it initially shows nothing and has some fields where you can type. Perhaps this supported some level of wild cards?
UPDATE: After I wrote this, I went back to try it. You can arrow over to the extension field and enter “BAS” then it only showed the “DOS.BAS” file. Neat! Perhaps wildcard support is built in to the Color TRSDOS routines?
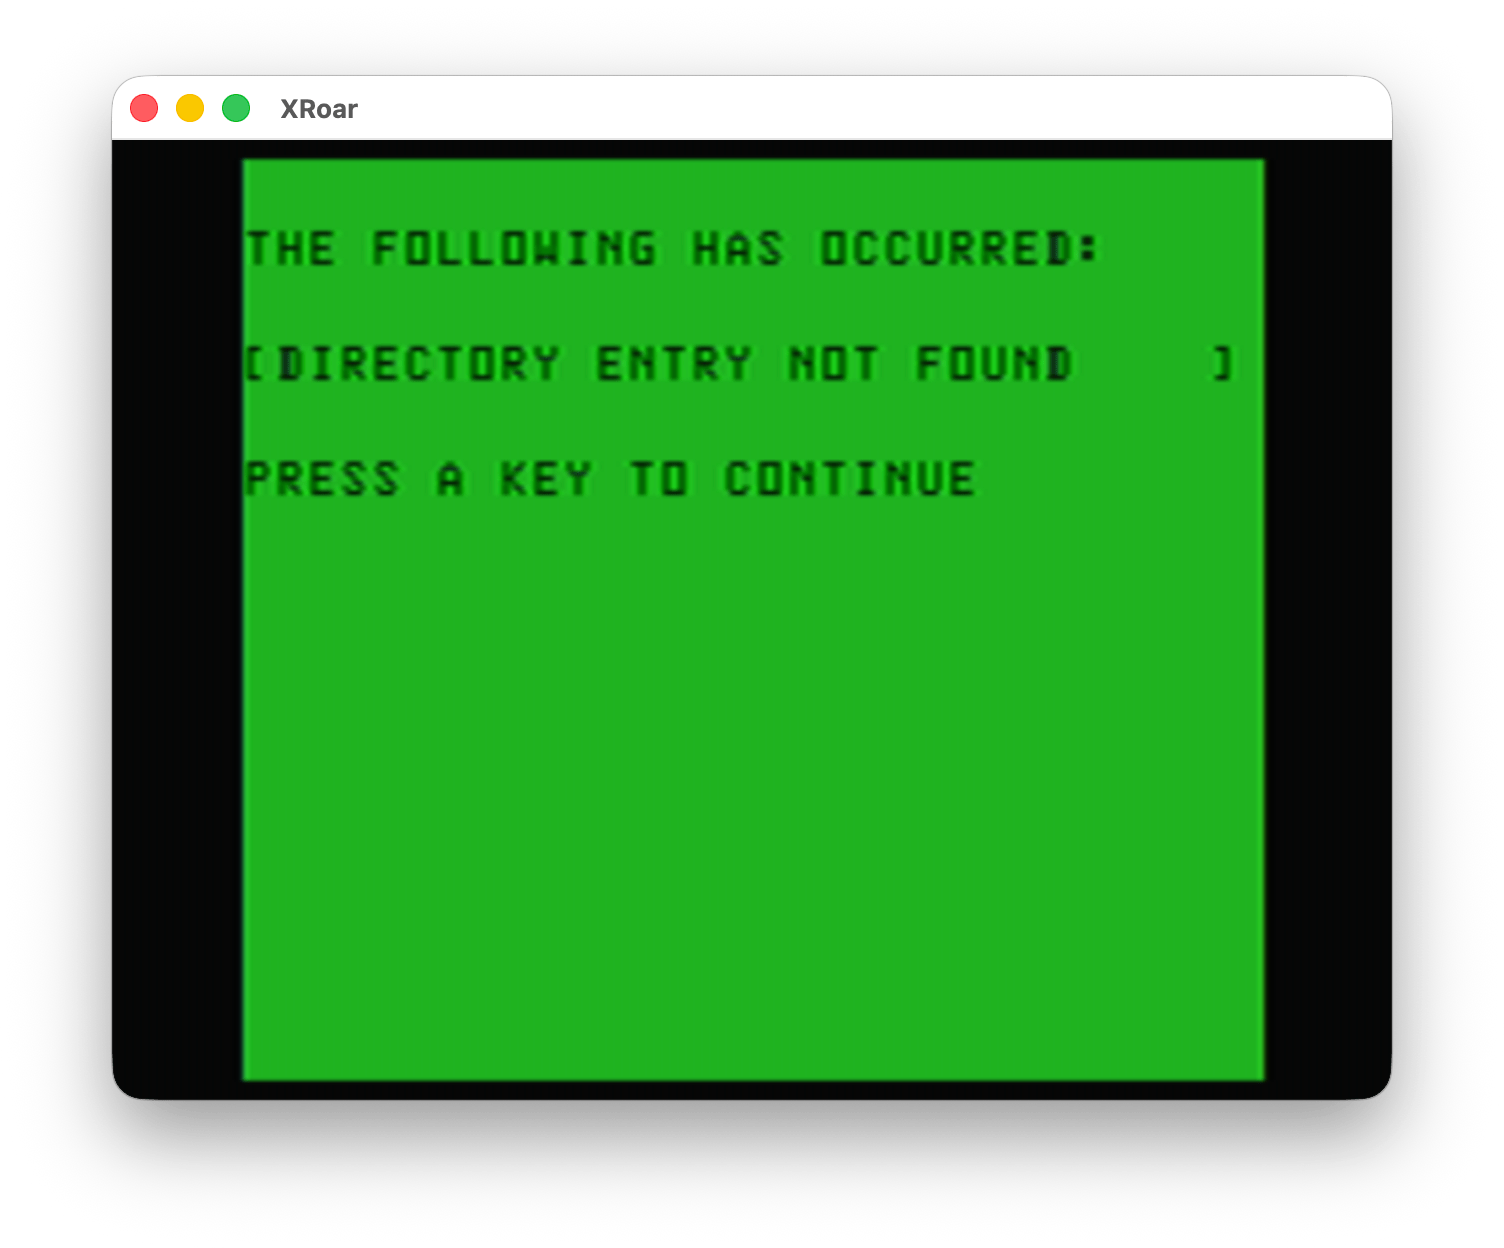
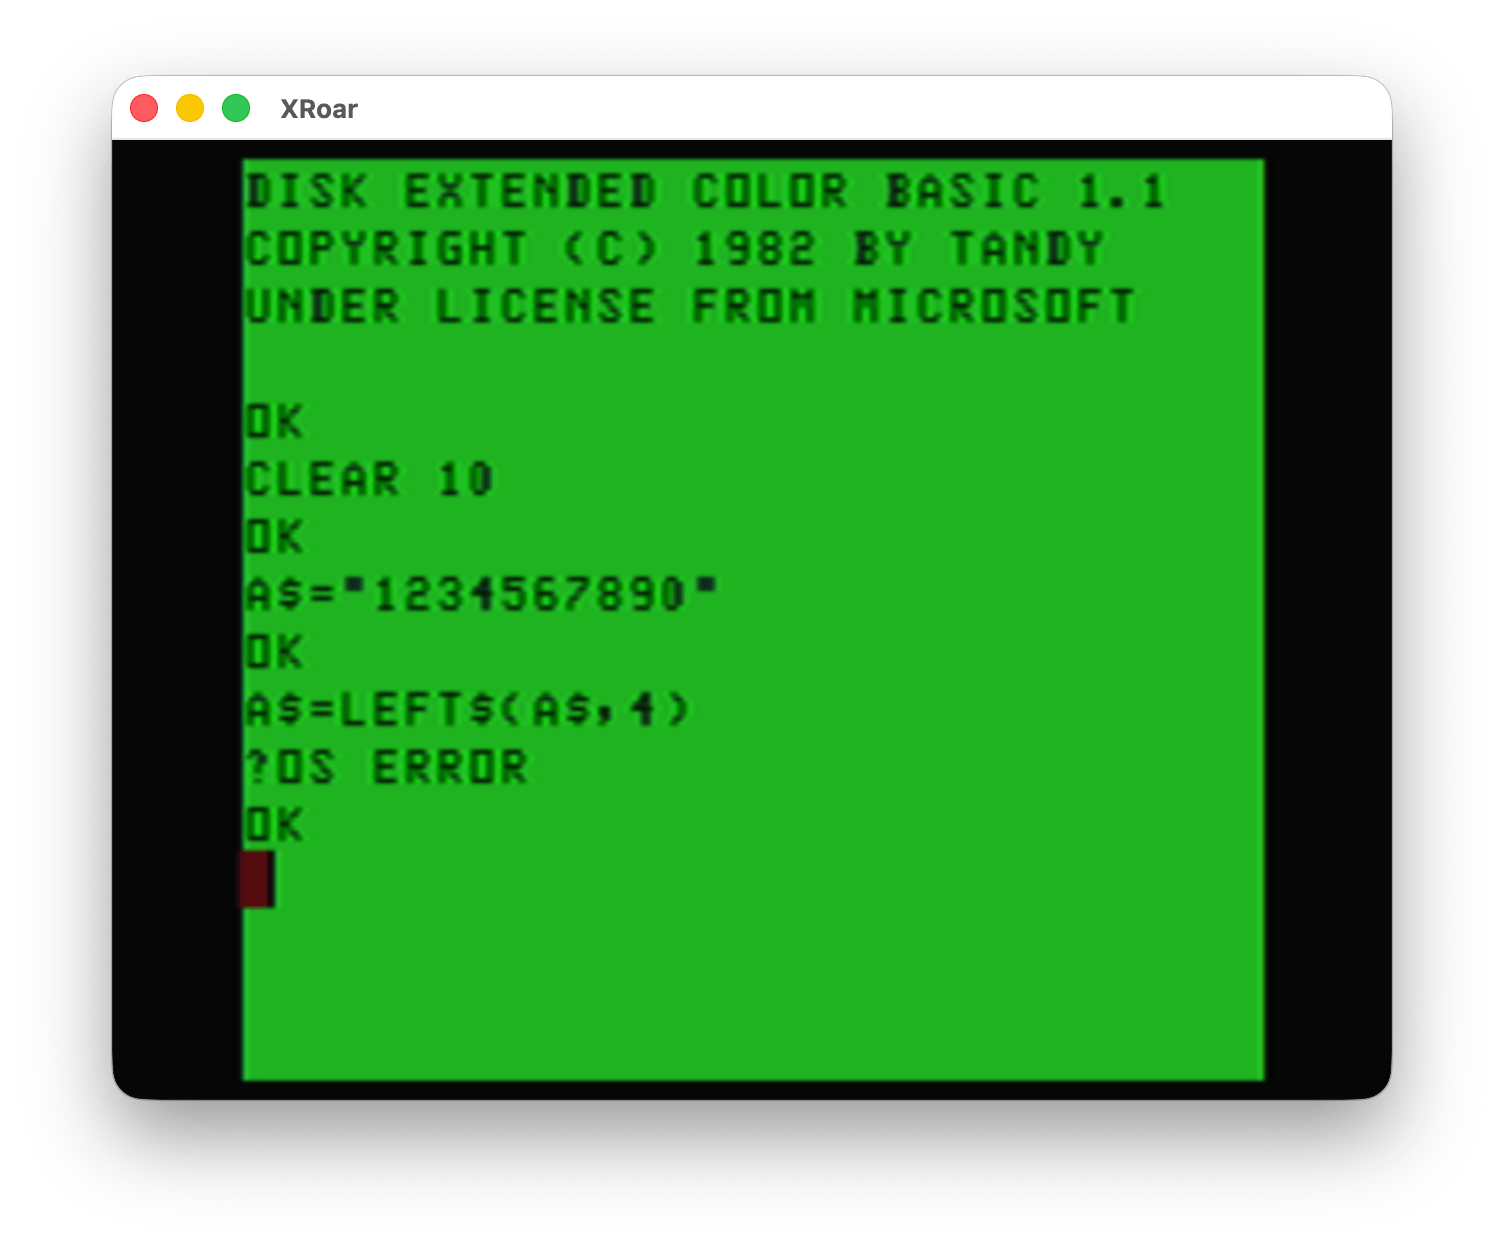
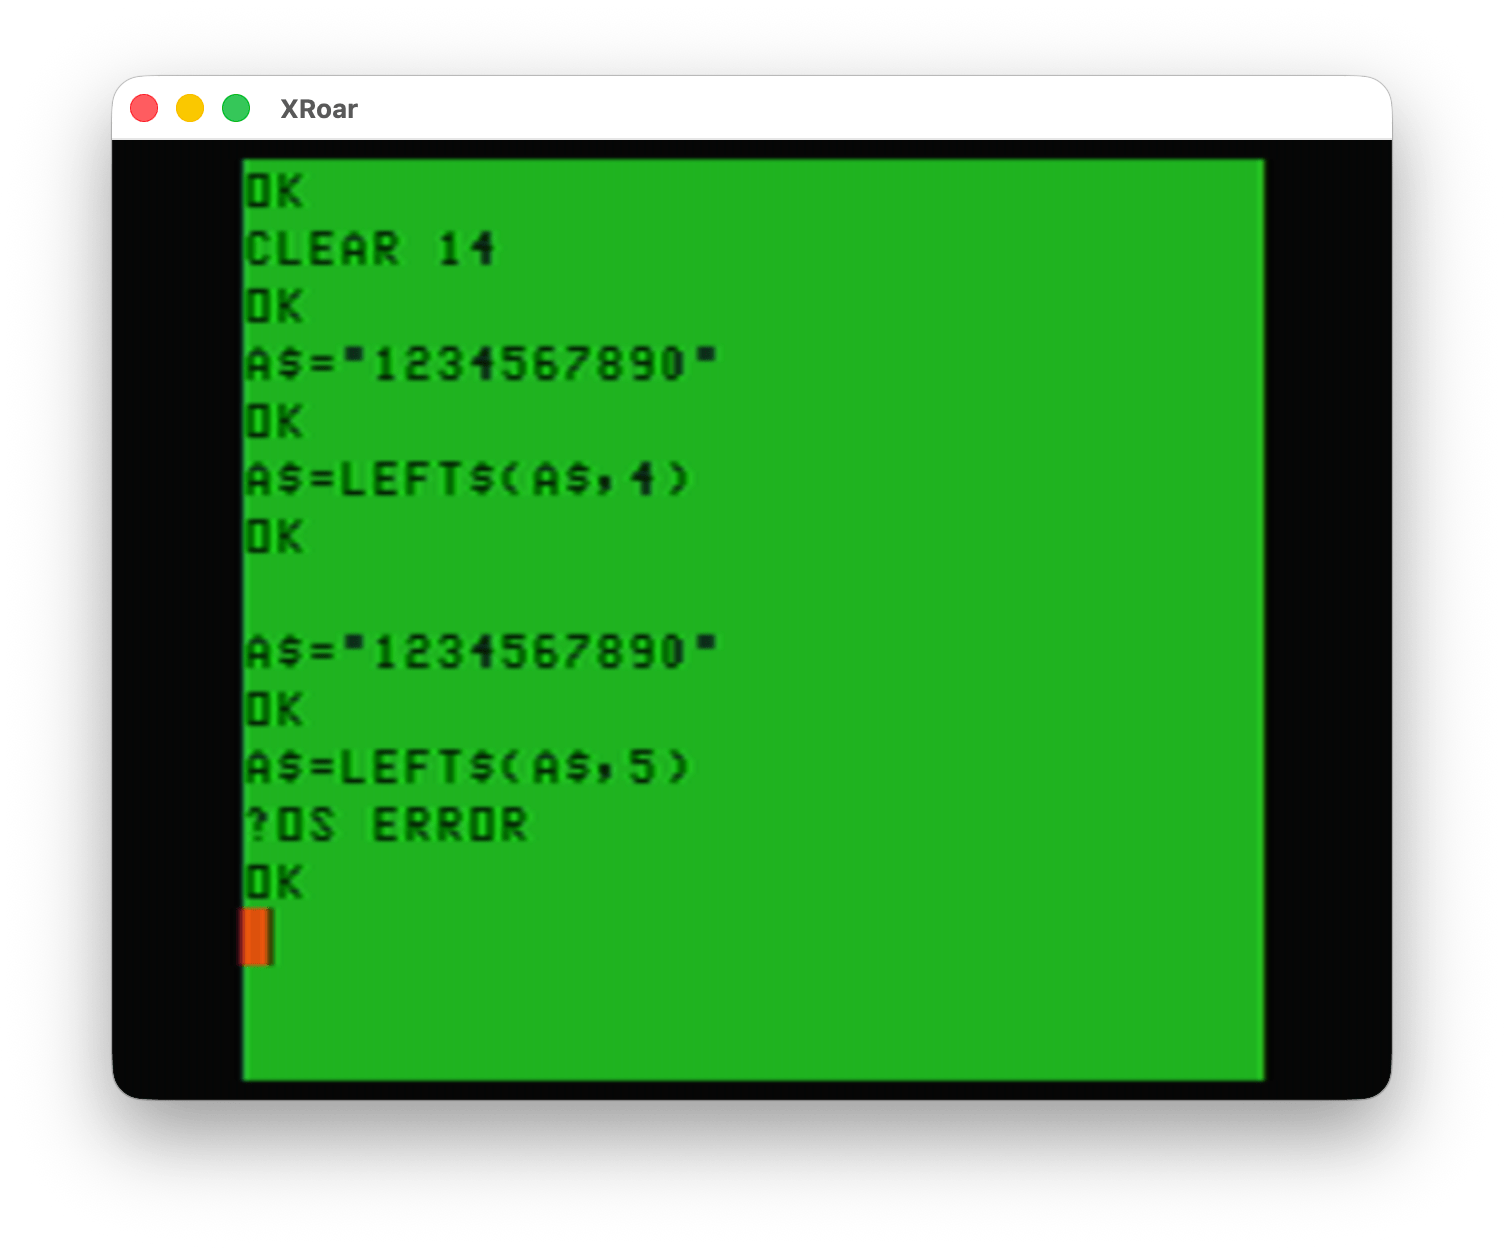
And, of course, error handling…
It looks kinda neat. Had I realized this back then, I could have been adding disk support to my own assembly programs. I really didn’t know it was a thing.
Color TRSDOS is a thing, again!
Well, maybe I get a second chance now. Thanks to the tireless efforts of Abraham Lincoln, Color TRSDOS has been archived to GitHub. In a Facebook CoCo group post dated June 20 2026, he wrote:
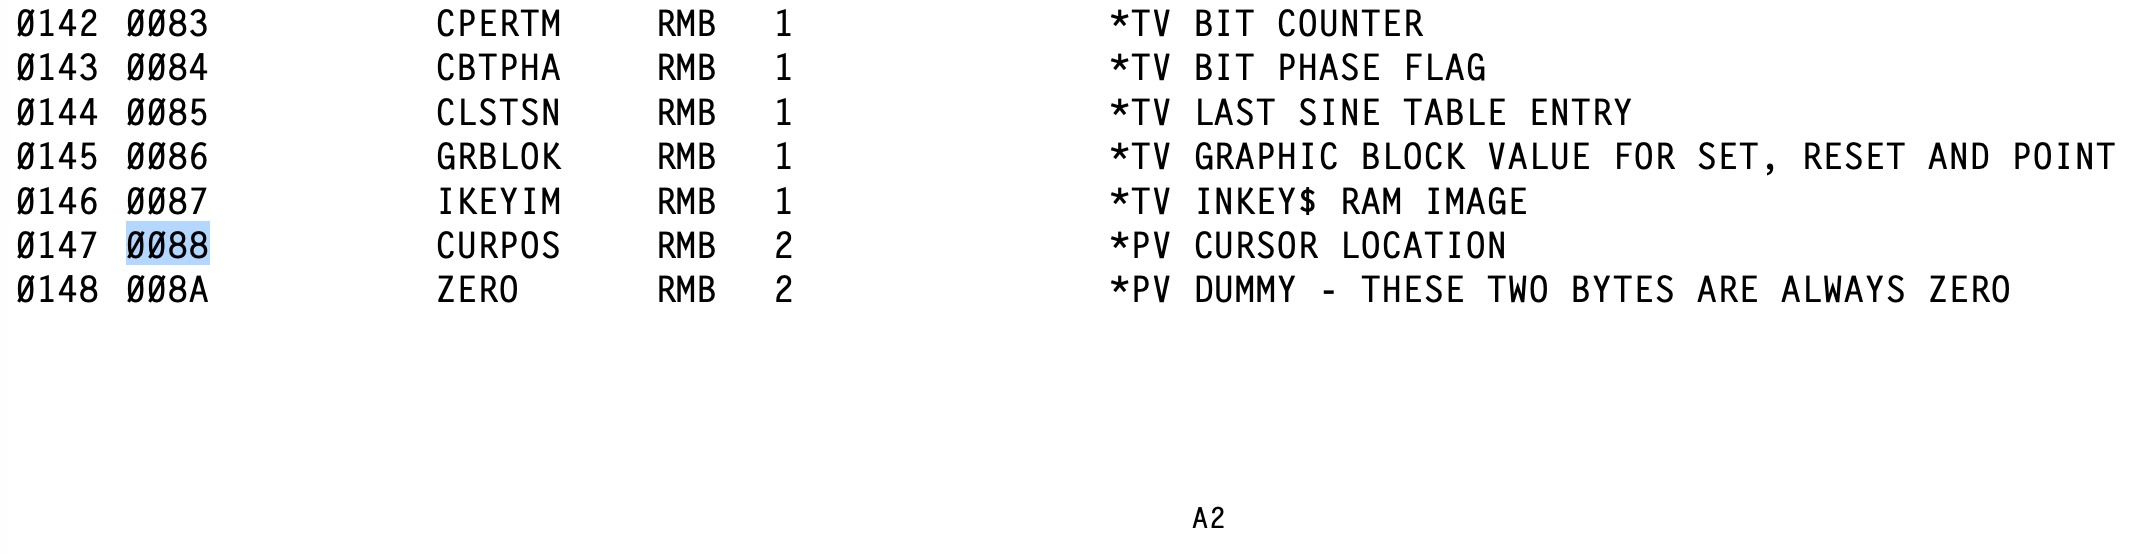
“. . . I found an OCR scan of the Disk EDTASM manual and was able to copy-paste the source code from that. There were LOTS and LOTS and LOTS of errors introduced via the OCR scanning process, but I was able to resolve everything, and even correct a bug that was in the original manual (as determined from the non-OCR version) but subsequently fixed in the DOS.BIN executable that shipped with Disk EDTASM.
Now we can generate the exact DOS.BIN executable from source. I went through this exercise so that anyone who is interested can study, learn from, and incorporate the code into their projects, if they’d like. For me, in particular, I wanted to be able to explore it to understand the interface that Tandy expected assembly language developers to use for accessing the disk files so that I could create a command shell that provides the same interface to the programs that it launches.”
– “Abraham Lincoln” on Facebook
Thank you for your service, Abraham! You can find the result of Abraham’s work, as well as progress on a new command line interface, on his GitHub page:
https://github.com/DarkChocoholicDev/ColorTRSDOS
Abraham has also shown the beginning of a command line TRSDOS interface. I look forward to seeing how this turns out. Maybe we will end up with a “real” TRSDOS for the CoCo thanks to his efforts.
To be continued?


