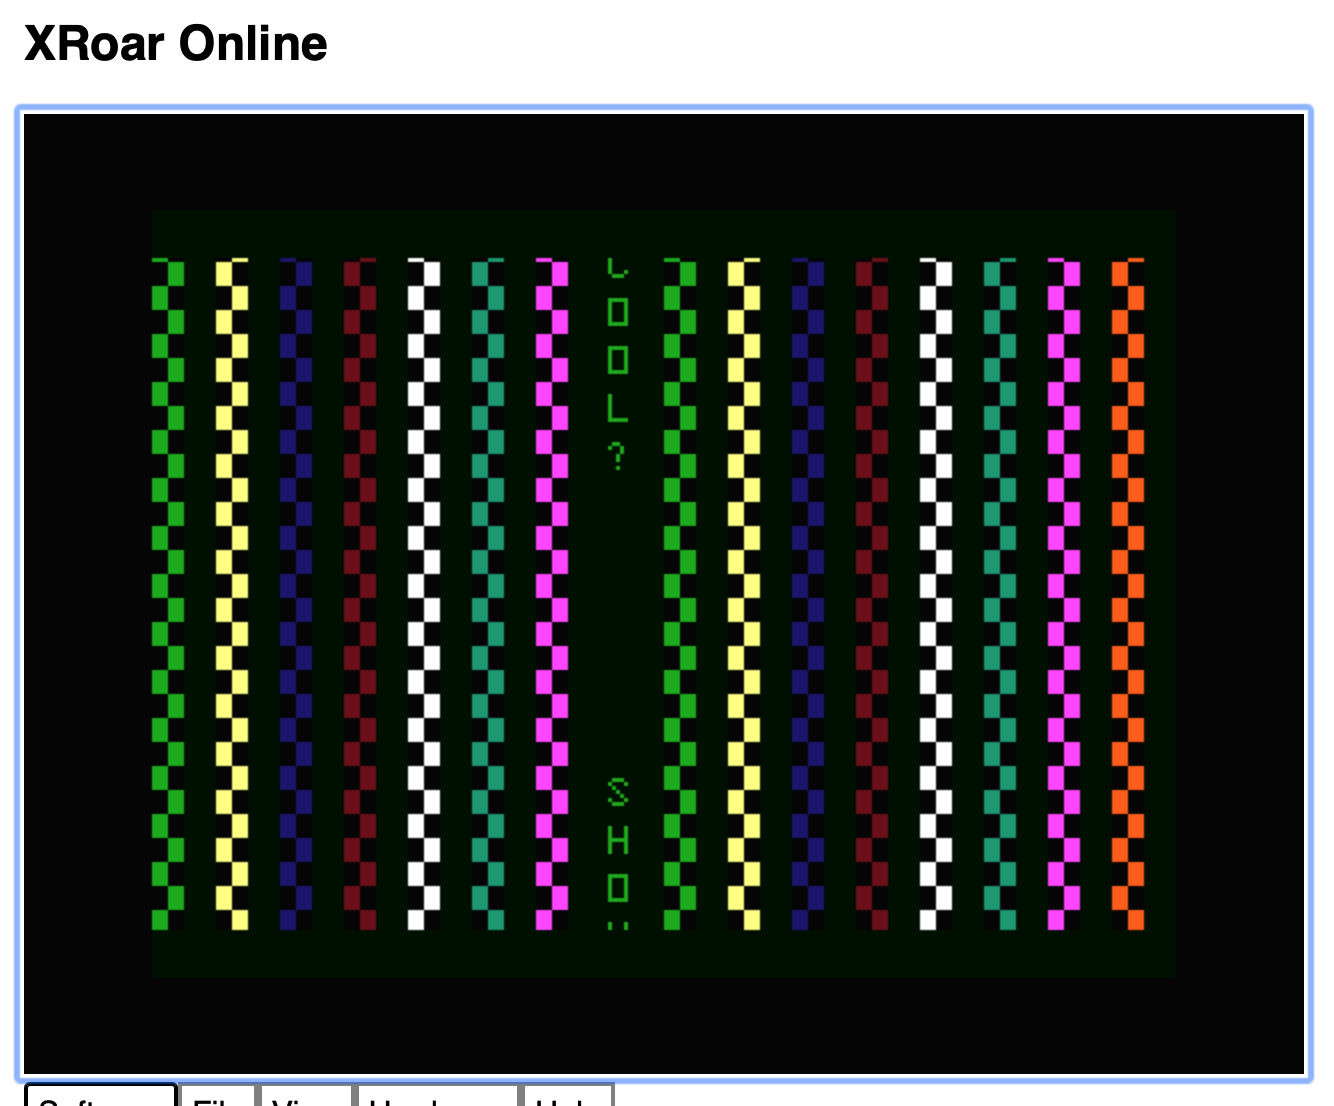
Click that link to see it run in the web browser. This screen shot does not really show how it looks running:
It shows a CoCo 32×16 text screen smoothy scrolling semigraphics blocks and text characters up the screen. The note that the SAM is not involved is also something I need a child-like explanation of. What does the SAM actually do that would be part of such a technique?
YouTube has been showing me videos from a channel called CoCo Town lately. This one, posted recently, focuses on emulators not getting the CoCo screen’s aspect ratio correct:
CoCo Town YouTube video.
I noticed that the recent XRoar emulator also changed its aspect ratio. It just felt “wrong” to me since I have basically only used XRoar for the past few years. Also, my CoCo 3 has been using a VGA monitor via the Cloud-9 FPGA VGA adapter. I have no idea how accurately it represents the CoCo output, but I know it is recreating it and making it fit on the VGA monitor.
With that in mind, I have a favor to ask. Can someone out there with a CoCo 1 or 2 hooked to a TV set send me a photo of what it looks like on your TV set? A front view of the startup green screen would be ideal.
Likewise, I’d like to see what the CoCo 3 looks like on an analog RGB monitor like the CM-8. I recall the CoCo 3 was very off center using the TV output, but if you can get a picture of that too, I’d appreciate it.
NOTE: This information requires XRoar 1.3.1 or later, as earlier versions had an issue remapping the Control key on Mac.
The XRoar emulator added support for the CoCo 3, but by default, the new CoCo 3 keys (alt, ctrl, f1 and f2) do not work for me — at least on the Mac. The author, Ciaran, pointed me to the “kbd-bind” configuration option. This allows remapping a host computer key and passing it through to the emulated machine. In my case, I want to do the following:
F1 key – F1 key on CoCo 3
F2 key – F2 key on CoCo 3
Left Control – CTRL key on CoCo 3
Left Option – ALT key on CoCo 3
The XRoar manual has the following information about kdb-bind:
When binding keys with -kbd-bind, if the emulated key dkey is prefixed with ‘preempt:’ or ‘pre:’, this binding preempts translation; useful for modifier keys. Interpretation of hkey depends on which user-interface toolkit is in use, and it might be useful to run with -debug-ui 1 to see what the toolkit calls your host keys.
The “hkey” is the name of the key you are trying to remap, and I think it may be different between Mac and PC. By running xroar from the command line with the “-debug-ui 1” option, the terminal will print out keys as you type inside the emulator. I did this, and press the keys I wanted to remap.
Above, I can see that the “hkey” for pressing my Mac’s left control is “Left Ctrl“. My left option key is “Left Option” (spelled out, and not abbreviated like Ctrl was). F1 and F2 were simply “F1” and “F2“.
I went with Control and Option on the left side, since I have duplicates of those keys on the right side of my keyboard. I can remap just the left ones for CoCo 3 use, and still have the right ones for XRoar interface use.
NOTE: You could remap any key — like make F5 turn in to the CoCo 3’s F1, or whatever.
To remap those keys, I can pass the option in from the command line like this:
If I run XRoar using the command line, or with those entries in the xroar.conf file, I can now boot in to the CoCo 3, and hold down my Left Control+Left Option then go to Hardware->Soft Reset and get the hidden CoCo 3 easter egg photo:
Though, the border color does not match that of a real CoCo 3, I don’t think.
I hope this helps someone else trying to use the XRoar in CoCo 3 mode with those four special CoCo 3 keys.
Here is a quick tutorial on an often-asked question about the XRoar emulator:
How do you load/save a program to/from disk/tape?
– Folks
Cassette Tapes
Since the XRoar emulator can emulate a floppy drive, there’s no real reason to mess with virtual cassette tapes unless you just want the experience, need the extra memory (disk systems have about 2K less memory), or are using software that does not support floppy disks.
But, if you still want to save your BASIC programs to a virtual cassette, and load it back, here are the steps.
The tape used for writing is considered separate to the read tape (this is an emulator-friendly approach to prevent overwriting your programs, though it would have been possible with two cassette decks).
That is likely the cause of confusion for many/most/all who try to use this the first time.
To save your program to tape, you must first mount (or create new) an Output Tape:
File -> Cassette -> Output Tape…
That will pop up a file explorer, and you can browse to an existing tape image, or select a location and create a new tape like “tape.cas” (where “cas” means cassette).
Once that is there, you can save your program as normal using CSAVE (or CSAVEM for machine language):
10 PRINT "HELLO, TAPE!"
20 GOTO 10

CSAVE "HELLO"
That file is now saved to the virtual tape. On a real cassette system, you would have to rewind the tape before you can load the program back in. But, if you try to use “File -> Cassette -> Rewind Output Tape” you still won’t be able to load. That tape is output only. You would just be rewinding it so you can overwrite whatever is there if you save something new.
Instead, you mount this tape image as an Input Tape:
File -> Cassette -> Input Tape…
You then can browse and select the “tape.cas” you made earlier. Now you can load the program using CLOAD (or CLOADM for machine language) and it will be back in memory:
CLOAD "HELLO"

LIST
10 PRINT "HELLO, TAPE!"
20 GOTO 10
OK
To reload, you need to to “File -> Cassette -> Rewind Input Tape”.
It appears you can have the same tape mounted for both Input and Output, but you need to re-mount the input each time you want to see the updated files on the Output tape.
In my test, I mounted an Output tape and then did a CSAVE”HELLO” of the program. After that, I mounted the tape for Input and did a CLOAD to get it back. I then did CSAVE”HELLO2″ and CSAVE”HELLO3″ to add two more copies to the Output tape.
Rewinding the Input tape did not get me those new files, but re-mounting (File -> Cassette -> Input Tape…”) and selecting the same .cas file again did let me load all three.
I’d enjoy XRoar having a “one tape” mode that worked like a real cassette deck. That would probably be much easier for folks to start using.
Here’s a quick video showing the basic process:
Floppy Disks
XRoar handles floppy disks more like real hardware, but as of version 1.2, it still defaults to having disk images being temporary. If you mount and use a disk image, when you shut down, all your changes are lost. It was intended for casual users who would be mounting disks and running programs, as opposed to folks programming and saving new data. A menu option (or entry in the xroar.conf config file) changes disks images to “write back” and work like normal.
Here are the steps:
First, you need an existing disk image, or you can create one:
File -> Drive 1 -> New Disk…
Browse to where you want the new disk image to be saved, and give it a name like “mydisk.dsk”
Drive 1 (which is 0 to DISK BASIC) is now ready, but just like a real floppy, you must format it before you can use it. Use the disk initialize command to do this:
DSKINI 0
You should now be able to type “DIR” and see an empty disk. BUT, if you save things to it, those changes will be lost (or maybe not even be able to save, if the disk is write protected and gives you a ?WP ERROR just like a real disk did when you taped over the write protect notch).
Turn on “Write Enable” to make the disk NOT write protected, and turn on “Write Back” to ensure anything you write will actually go back on the disk and not be discarded on exit:
Now you can save and load programs as normal:
10 PRINT "HELLO, DISK!"
20 GOTO 10
SAVE "HELLO"
DIR

HELLO   BAS  0 B 1
OK
As long as Write Enable is checked, the disk won’t be write protected. As long as Write Back is checked, your changes should save when you exit XRoar (or eject the disk).
The next time you startup XRoar, you can use the Ctrl-1 shortcut to mount Drive 1, and just browse to your “mydisk.dsk” image and start using it.
You will still need to check Write Back every time, unless you add that to your xroar.conf config file. You can set that up so it automatically mounts disk images, tape files, etc. as well as setting default machine, memory size, TV mode (simulated, RGB monitor, etc.)