
Updates:
- 2022-06-30 – Added details about adding Mercurial and retrieving source that way. Also added notes about building Toolshed (currently does not work) and NitrOS9.
A quick tutorial on how to get the Lost Wizard LWTOOLS running under Windows. I have tested this under Windows 11.
To build under Windows, you will need to use a compatibility layer that makes Linux-style code work under Windows. Lost Wizard recommends mingw or Cygwin. This tutorial will use Cygwin.
Step 1: Download Cygwin.
Go to https://www.cygwin.com/ and download the current Windows installer. It is called “setup-x86_64.exe“.
Run the installer:

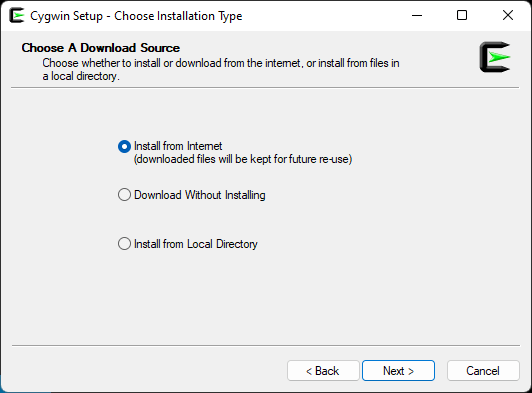
Click Next, then choose “Install from Internet”:
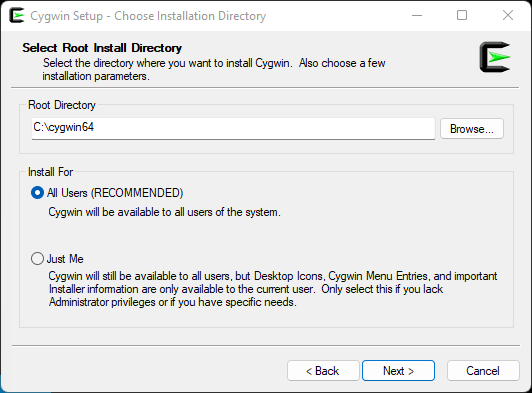
Click Next, then either use the default install location, or customize if you know what you are doing. Same thing for installing for “All Users” or “Just Me.” In my example, I am just using the defaults:
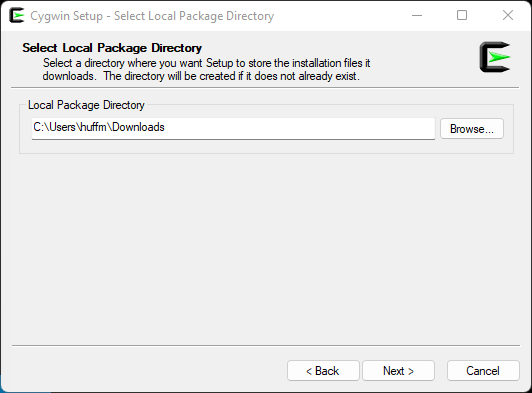
Click Next, then select where it will download files. I will just use the defaults:
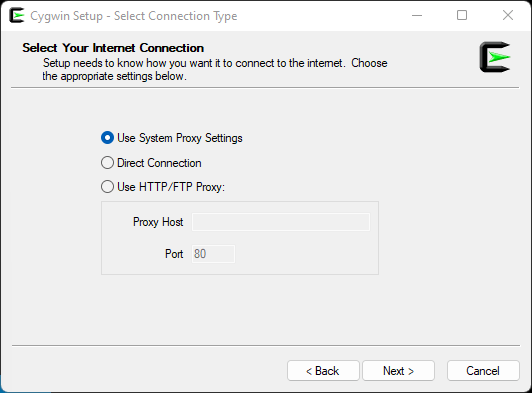
Click Next, and just use the default Internet Connection settings unless you know what you are doing and need to change them:
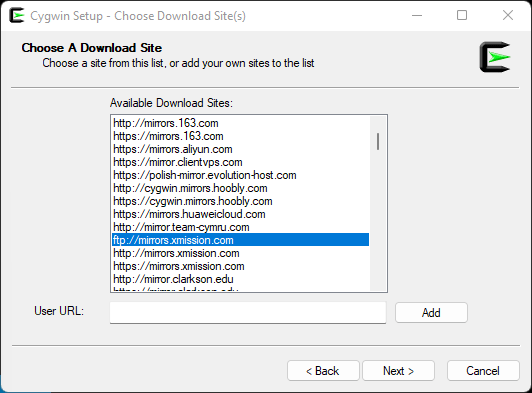
Click Next, then select one of the download sites. It shouldn’t matter which one you choose, but since I used to read the old Maddox website hosted on xmission.com, I selected that:
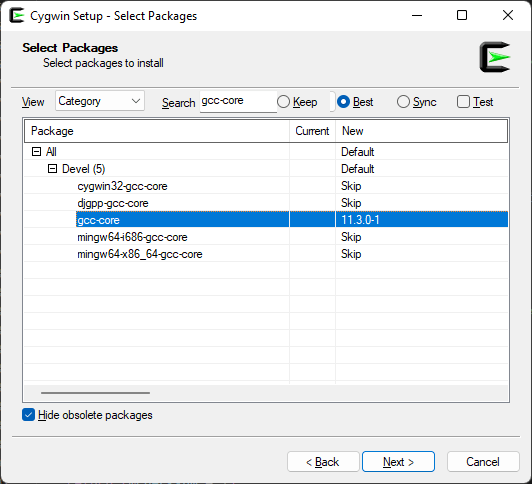
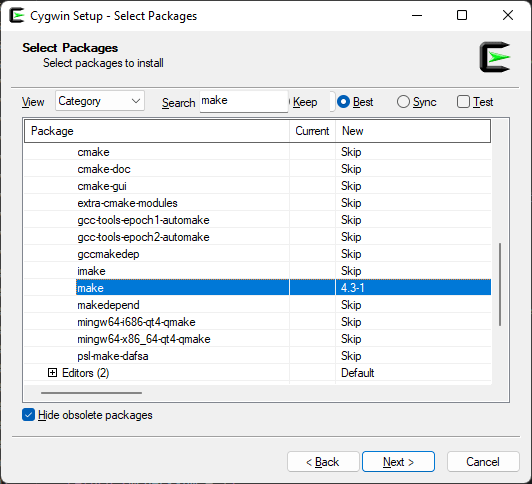
Click Next, and it will retrieve a list of available packages. For building LWTOOLS, you need a C compiler and “make” utility. I went with the standard GCC compiler and standard make.
Expand the “All” then “Devel” items.
Locate the entry that says “gcc-core” (or use the Search box) and click on the “Skip” to the right of it. It should change from “Skip” to a version number (currently 11.3.0-1 as I type this).
Locate the entry that says “make” and do the same (currently 4.3-1 as I type this).
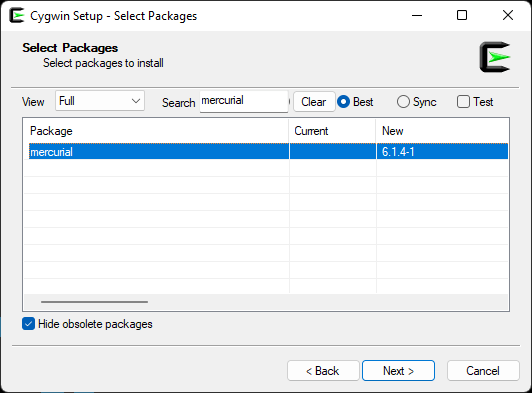
If you would like to download LWTOOLS (and other items) source directly rather than having to download “the most recent release”, you will also need to install “mercurial“. This will give you the “hg” command used to retrieve the latest source code for the projects. (And if you are doing all of this, might as well do this, too.)
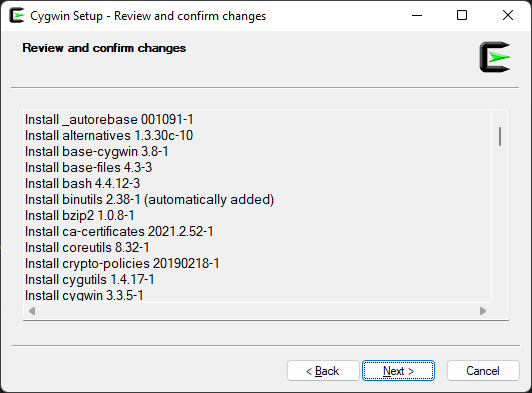
Click Next, and you will see a list of all the required packages that will be download. (When you select an item, this installer will download any other items that are required for the one you selected.)
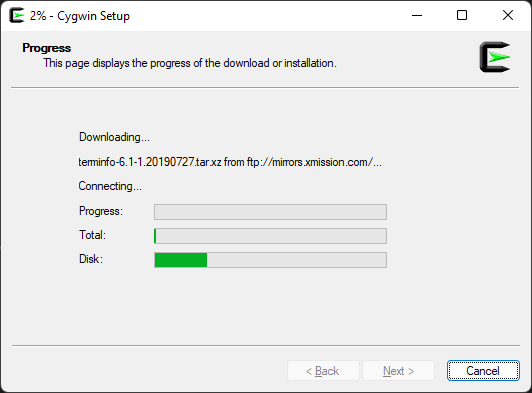
Click Next, and the download will begin.
When completed, you can click Next and then choose if you want to add a Cygwin icon on your Desktop and/or in the Start Menu. Since you will need to run Cygwin to build LWTOOLS, you may want one or both.
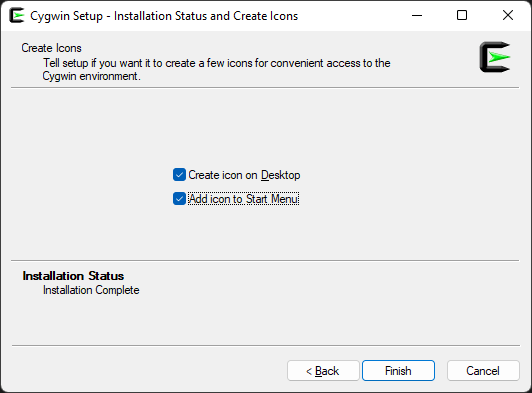
Click Finish. You now have Cygwin!
Step 2: Download and extract the LWtools source code.
You can either download the source code and build that, OR you can use Mercurial to retrieve the latest version of the source (which currently includes a bug fix that is not in the release archive yet). Plus, it saves all the steps of extracting the gzipped tar file in 2b ;-)
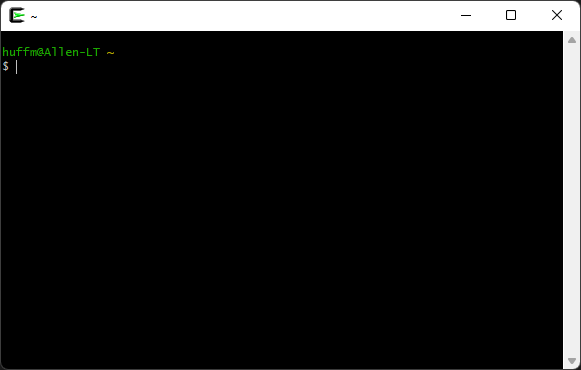
For either way, you will want to run “Cygwin64 Terminal” that is now installed. This will open up a console prompt.
You will need to change directories to where you plan to download the LWTOOLS source code. Cygwin translates the Windows directories like “C:\Users\huffm\Downloads” to a Unix-style directory path like “/cygdrive/c/Users/huffm/Downloads” on my system. If you know how to change directories from a Windows Command Prompt, instead of going to “C:\whatever” you would change backslashes to forward slashes, and start with “/cygdrive/c/whatever”
Use the change directory (“cd”) command and change to where you downloaded the LWTOOLS .gz file.
An easy way to get this path is to type the change directory command in the Cygwin terminal window, followed by a space, (“cd “) and then drag the “Downloads” folder from a Windows Explore window IN to the Cygwin Terminal. It will type out the path to whatever folder you drag and drop there:
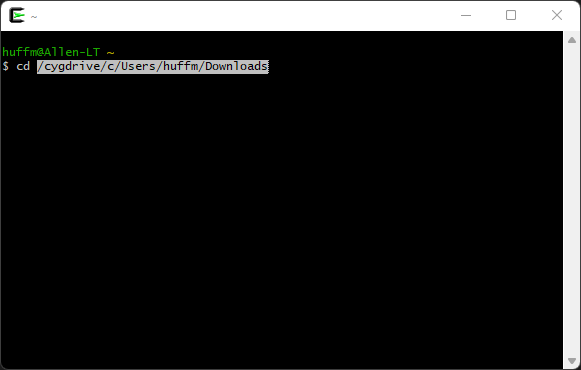
Press enter, and you should now be in the directory where you downloaded the LWTOOLS file. The Cygwin prompt will change to show you what directory you are in. Mine looks like this:
huffm@Allen-LT /cygdrive/c/Users/huffm/Downloads
$
2a. Use Mercurial to get the latest source.
From that location, enter this mercurial (“hg”) command:
hg clone http://lwtools.projects.l-w.ca/hg/ lwtools
That will retrieve the latest source and place it in a subdirectory called “lwtools” from here you are. Once complete, proceed to Step 3.
2b. Download and extract the latest release.
OR, if you want to manually download the latest release…
Go to http://www.lwtools.ca/ and download the latest version (currently 4.19 as I type this). Save it to wherever you chose, above.
The download will be a gzipped .tar file, so you will need some tool to extract it. You can find something in the Windows Store, or just use a command line utility from Cygwin. For this tutorial, we will use the command line.
From this terminal, many Linux-style commands are available, including gzip (which we will use to extract the LWTOOLS .tar file) and tar (which we will use to un-tar that file).
Extract the .gzip file by typing “gzip -d” (for decompress) followed by the lwtools filename:
gzip -d lwtools-4.19.tar.gz
This should extract the “lwtools-4.19.tar” file in to that directory. Now un-tar that file by typing:
tar -xf lwtools-4.19.tar
That will finally leave you with a directory called “lwtools-4.19” (or whatever version you downloaded.
Step 3: Build and install LWTOOLS
Change directories in to the “lwtools-4.19” directory (or, if you downloaded with Mercurial, in to “lwtools” or whatever you called it):
cd lwtools-4.19
Once you are there, all you need to do is type “make” to begin the build process.
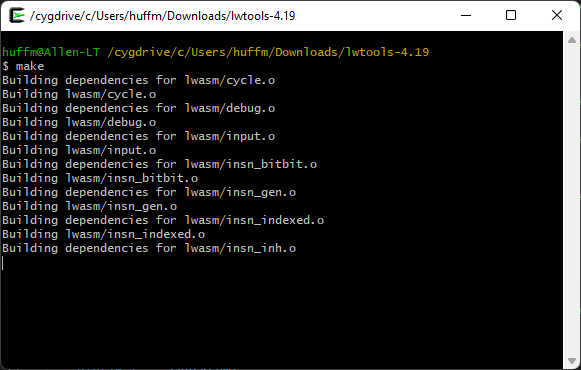
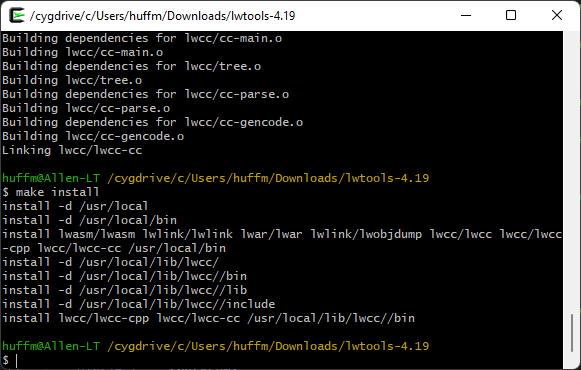
Once complete (it may take awhile), the binaries have been built, but they aren’t located where Cygwin can run them yet. To copy them over in to the proper location, type “make install“:
You now have some new command line programs available from within Cygwin. To verify that they worked, you can try typing them to see if they bring up their usage display. Try typing:
lwasm --usage
If you get back a “Usage:” message, you should now be ready to use LWTOOLS to compile 6809 assembly language for the CoCo.
4. Other things you may want to install
Toolshed is a series of commands for copying files from your PC in to disk image files used by emulators or things like the CoCoSDC.
NOTE: Currently, this will not work. Some rules have changed in the compiler and it will error out. There are about 12 places in the source that can easily be fixed to make it build, but I’m going to wait and see if the Toolshed maintainers have a solution.
hg clone http://hg.code.sf.net/p/toolshed/code toolshed
cd toolshed
make -C build/unix install
cd ..
NitrOS9 is a 6809 (or 6309) operating system based on Microware OS-9/6809.
hg clone http://hg.code.sf.net/p/nitros9/code nitros9
cd nitros9
make dsk
BONUS: Building a simple program.
As a simple test, use a text or code editor to create the following “helloworld.asm” file. You will need to know where you save this file, since you will be typing that on the command line to build it. On my system, I have all my .asm files in a directory, and I just “cd” to that directory from the Cygwin terminal.
* helloasm.asm

    org $3f00

    ldx #message
loop:
    lda ,x+
    beq done
    jsr [$a002]
    bra loop
done:
    rts

message fcc "HELLO WORLD!"
    fcb 13
    fcb 0
This simple program will display the message “HELLO WORLD!”. It does this by using the Color BASIC “CHROUT” ROM call. This code starts by loading X with the address of a text message that is a series of characters, followed by a 13 (carriage return) and a 0 to mark the end of the message. The main loop loads the A register with whatever is at X, and if it is zero it ends. Otherwise, it calls the CHROUT routine indirectly by jumping to the location stored at $a002 in the ROM. It will repeat this until it gets to the 0 at the end of the message.
LWTOOLS can build .bin files that can be transferred to a CoCo (or emulator) on a disk image (using other tools), and then you can LOADM that file and EXEC it:
lwasm helloasm.asm -fdecb -ohelloasm.bin
Above, that takes the input file “helloasm.asm” and compiles it in format “decb” (a .bin binary) and calls the output file “helloasm.bin”. (You’d probably want all uppercase for filenames on the CoCo.) That should give a LOADM-able file to try.
But, a nifty feature of LWTOOLS is the ability to generate a BASIC program that loads the assembly language. Use the format “basic” and make the output file a “.bas” instead:
lwasm helloasm.asm -fbasic -ohelloasm.bas
That will create a text file called “helloasm.bas”:
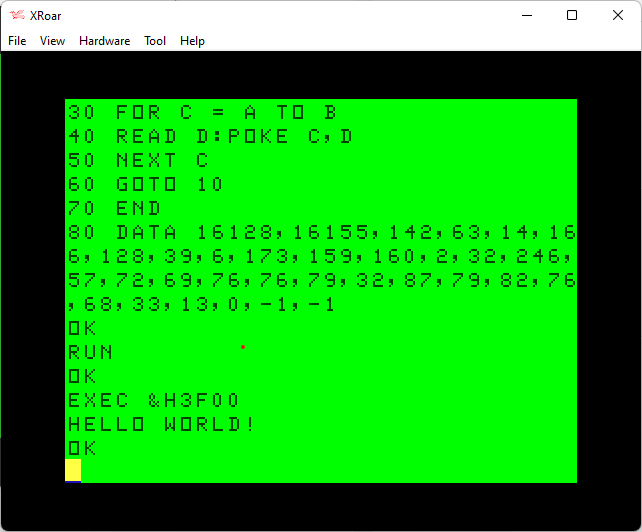
10 READ A,B
20 IF A=-1 THEN 70
30 FOR C = A TO B
40 READ D:POKE C,D
50 NEXT C
60 GOTO 10
70 END
80 DATA 16128,16155,142,63,14,166,128,39,6,173,159,160,2,32,246,57,72,69,76,76,79,32,87,79,82,76,68,33,13,0,-1,-1
I like to use the XRoar emulator, since it lets me load a text file as if it was a cassette file. You can run XRoar, then use Ctrl-L (or File->Load) then select the “helloasm.bas” file. After that is done, typing “CLOAD” in XRoar will load this text file as if it was coming from tape!
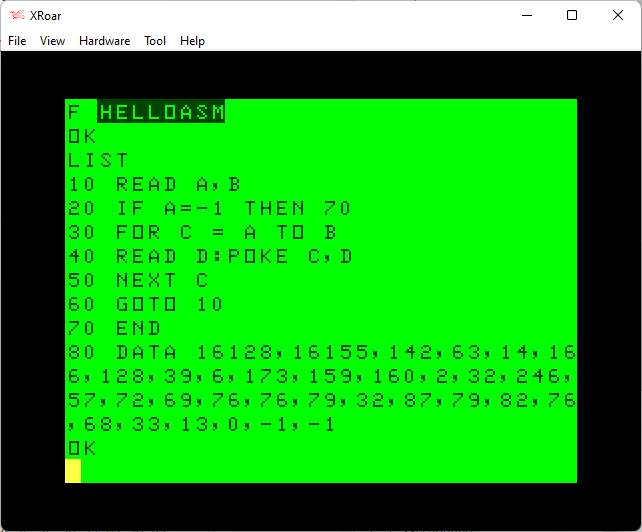
Then you can “RUN” the program and load your assembly in to memory. For this example, the address of $3f00 was specified in the source codes “org” address (16128 in decimal) so that is where the code would load. After the “RUN”, you should be able to type “EXEC &H3f00” (or EXEC 16128 if not using Extended Color BASIC) and see the program run:

Have fun!
Until next time…
There is a link on the homepage to Tormod’s prebuilt binaries if you want just skip the whole cygwin and building from source part, but good to know.
I saw some prebuilt, but they weren’t the current version, where they?
http://www.lwtools.ca/contrib/tormod/lwtools-4.19-win64.zip
Seems pretty current.
Yes, they’ve been updated. There was one bug with the “export as a BASIC loader” that he’s fixed, and I don’t think that’s in the release yet, though.
And, if I’d known about current builds, I’d never have bothered to build it myself. I think the moment I looked, it was one version behind.
Pingback: Building NitrOS-9 on Mac OS X | Sub-Etha Software